Bilješka
Pristup ovoj stranici zahtijeva provjeru vjerodostojnosti. Možete pokušati da se prijavite ili promijenite direktorije.
Pristup ovoj stranici zahtijeva provjeru vjerodostojnosti. Možete pokušati promijeniti direktorije.
This article describes how to create and download a support package from a small form factor Azure Local device.
Important
This feature is currently in PREVIEW. See the Supplemental Terms of Use for Microsoft Azure Previews for legal terms that apply to Azure features that are in beta, preview, or otherwise not yet released into general availability.
Prerequisites
Before you begin, make sure you have completed the following prerequisites:
- The Configurator App is installed on your Windows PC.
- Your Windows PC is on the same network as the device.
- You can reach the device IP address from your PC.
To verify connectivity, open PowerShell and run:
ping <ip-address>
Connect to the device in the Configurator App
Open Configurator App.
Enter the device IP address in the Machine name prompt. Select Next.
Enter the username and select Next.
Enter the password or SSH key. Select Sign in.
After you sign in, select the help icon in the upper-right corner to open Support & Troubleshooting.
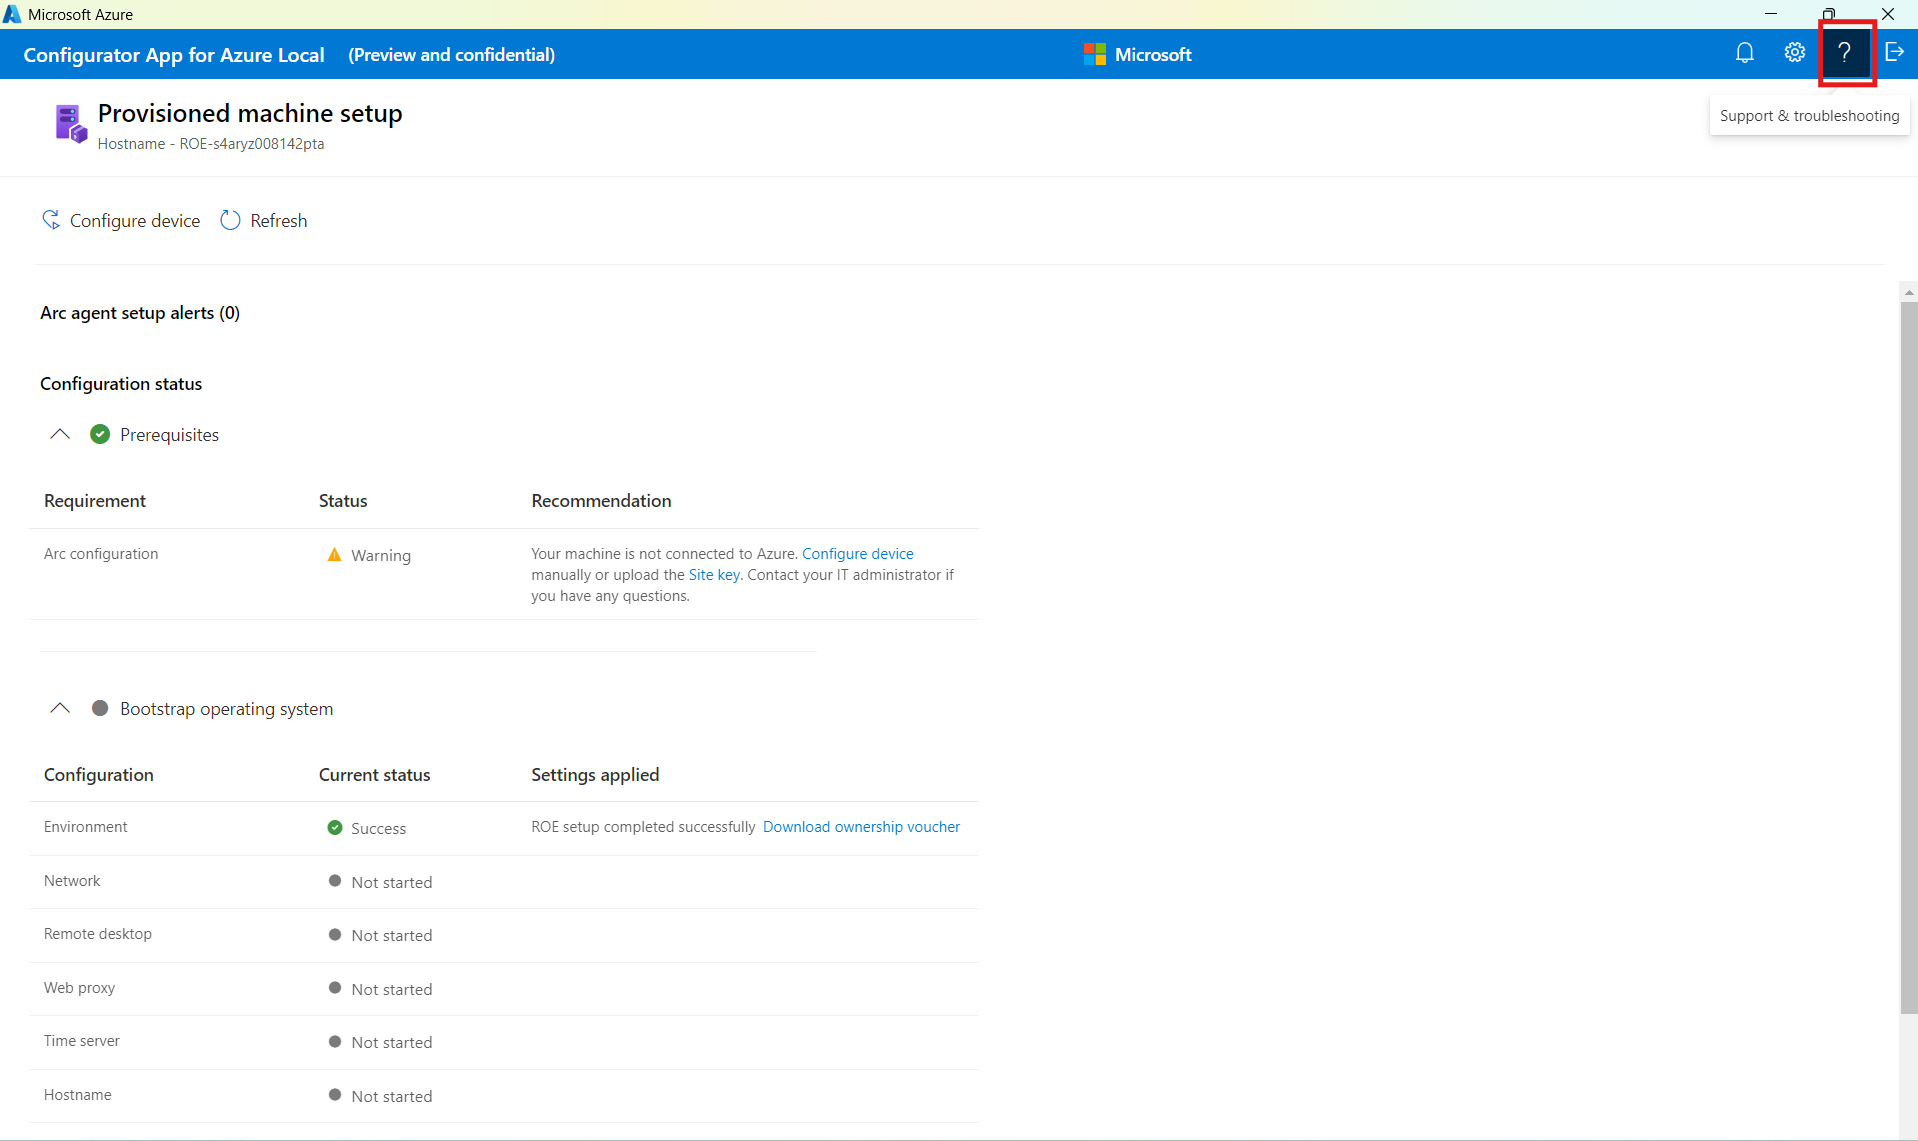
Select Create under Create a support log package.
After the support package is generated, select Download under Download support log package.
Choose a local folder, then select Save.
Choose the correct credentials
The credentials you use depend on the current state of the provisioned machine resource in Azure.
Credential mapping by device state
| Device state | Credential set |
|---|---|
| I haven't created a provisioned machine yet | Set A |
| Ready to connect | Set A |
| Provisioned | Set A |
| Clustering | Try Set A first, then Set B |
| Clustered | Set B |
| Unknown | Try Set A first, then Set B |
Credential sets
| Credential set | Username | Authentication method | Secret |
|---|---|---|---|
| Set A: Maintenance OS credentials | edgeuser |
Password | Password1 |
| Set B: Target OS credentials | The username entered during target OS setup, usually clouduser |
SSH key | The SSH key downloaded by your browser during setup |