Bilješka
Pristup ovoj stranici zahtijeva provjeru vjerodostojnosti. Možete pokušati da se prijavite ili promijenite direktorije.
Pristup ovoj stranici zahtijeva provjeru vjerodostojnosti. Možete pokušati promijeniti direktorije.
The Azure Event Hubs emulator lets you test and validate your applications locally, without connecting to the cloud. This article shows you how to set up, run, and interact with the emulator by using Docker or an automated script.
Prerequisites
- Docker Desktop
- Minimum hardware requirements:
- 2 GB of RAM
- 5 GB of disk space
- Windows Subsystem for Linux (WSL) configuration (Windows only):
Note
Before you continue with the steps in this article, ensure Docker Desktop is running.
Run the Azure Event Hubs emulator
Run the Azure Event Hubs emulator by using either an automated script or a Linux container. Choose the method that best fits your development environment.
Before you run an automated script, clone the emulator's GitHub installer repository locally.
Windows
Use the following steps to run the Event Hubs emulator locally on Windows.
Open PowerShell and go to the directory where you cloned the common scripts folder, by using
cd.cd <path to your common scripts folder> # Update this pathEnter the
wslcommand to open WSL in this directory.wslRun the setup script
LaunchEmulator.sh. The script brings up two containers: the Event Hubs emulator and Azurite, a dependency for the emulator../LaunchEmulator.sh
Linux and macOS
To run the Event Hubs emulator locally on Linux or macOS:
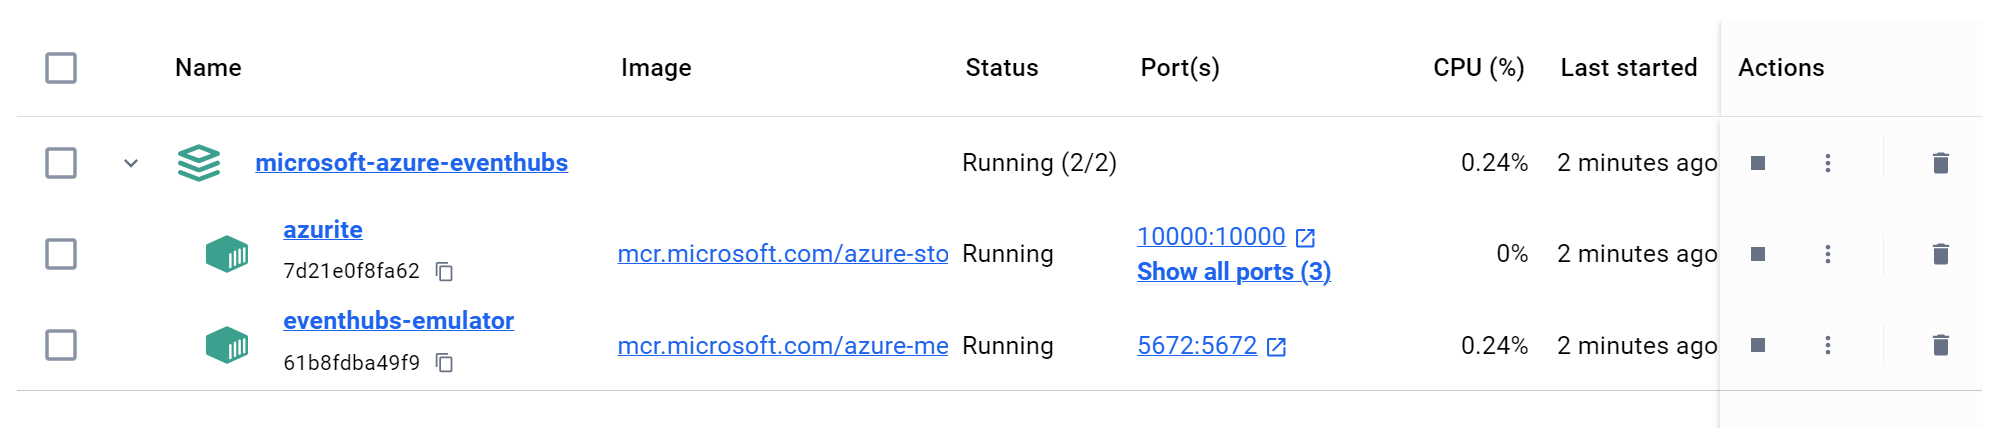
- Run the setup script LaunchEmulator.sh. Running the script brings up two containers: the Event Hubs emulator and Azurite (a dependency for the emulator).
After the steps are successful, you can find the containers running in Docker.
Interact with the emulator
By default, the emulator uses the config.json configuration file. You can configure entities, such as event hubs and Kafka topics, by editing this file. For more information, see Quota configuration changes.
The connection string that you use to connect to the Event Hubs emulator depends on where your application runs:
When the emulator container and your application run natively on the local machine, use this connection string:
"Endpoint=sb://localhost;SharedAccessKeyName=RootManageSharedAccessKey;SharedAccessKey=SAS_KEY_VALUE;UseDevelopmentEmulator=true;"When your application runs on a different machine on the same local network (containerized or not), connect to the emulator by using the IPv4 address of the host machine:
"Endpoint=sb://192.168.y.z;SharedAccessKeyName=RootManageSharedAccessKey;SharedAccessKey=SAS_KEY_VALUE;UseDevelopmentEmulator=true;"When your application container runs on the same bridge network, connect to the emulator by using its alias or IP address. This connection string assumes that the emulator uses the default name,
eventhubs-emulator:"Endpoint=sb://eventhubs-emulator;SharedAccessKeyName=RootManageSharedAccessKey;SharedAccessKey=SAS_KEY_VALUE;UseDevelopmentEmulator=true;"When your application container runs on a different bridge network, connect to the emulator by using
host.docker.internalas the host:"Endpoint=sb://host.docker.internal;SharedAccessKeyName=RootManageSharedAccessKey;SharedAccessKey=SAS_KEY_VALUE;UseDevelopmentEmulator=true;"
To interact with Kafka, set the producer and consumer configuration as follows:
{
    BootstrapServers =  // The value depends on the connection string that you use.
    SecurityProtocol = SecurityProtocol.SaslPlaintext,
    SaslMechanism = SaslMechanism.Plain,
    SaslUsername = "$ConnectionString",
    SaslPassword =  // The value depends on your topology.
};
The values of BootstrapServers and SaslPassword depend on your setup topology. For details, see the Interact with the emulator section.
Important
When you use Kafka, only the producer and consumer APIs are compatible with the Event Hubs emulator.
To get started, see the Event Hubs emulator samples on GitHub.