Bilješka
Pristup ovoj stranici zahtijeva provjeru vjerodostojnosti. Možete pokušati da se prijavite ili promijenite direktorije.
Pristup ovoj stranici zahtijeva provjeru vjerodostojnosti. Možete pokušati promijeniti direktorije.
To add resources, resource groups, or subscriptions to a Service Group (preview), you create a Service Group Member Relationship. This relationship links the resource to the service group without moving it from its current location. For more information on service groups, see What are Azure Service Groups?.
Important
Azure Service Groups is currently in PREVIEW. See the Supplemental Terms of Use for Microsoft Azure Previews for legal terms that apply to Azure features that are in beta, preview, or otherwise not yet released into general availability.
Prerequisites
If you don't have an Azure subscription, create a free account before you begin.
An existing service group. If you haven't created one yet, see Create a service group in the portal.
To add a member, you need both:
- Microsoft.Relationship/ServiceGroupMember/write permission on the resource you're adding (the member).
- Service Group Contributor role on the target service group.
Add members during service group creation
When creating a new Service Group, there's an available
Memberstab to add resources.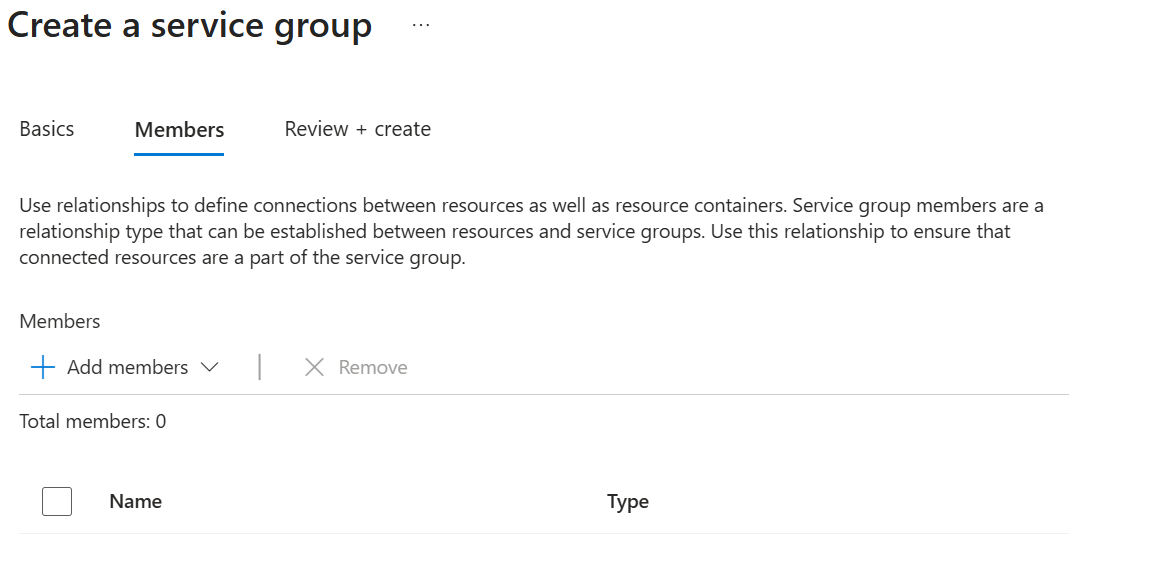
Select to add individual resources, resource groups, or subscriptions.
Once selected, use filters to narrow the list. You can filter by resource type, subscription, resource group, or location.
Once all members are chosen, press Select
All members to be added are displayed in the list.
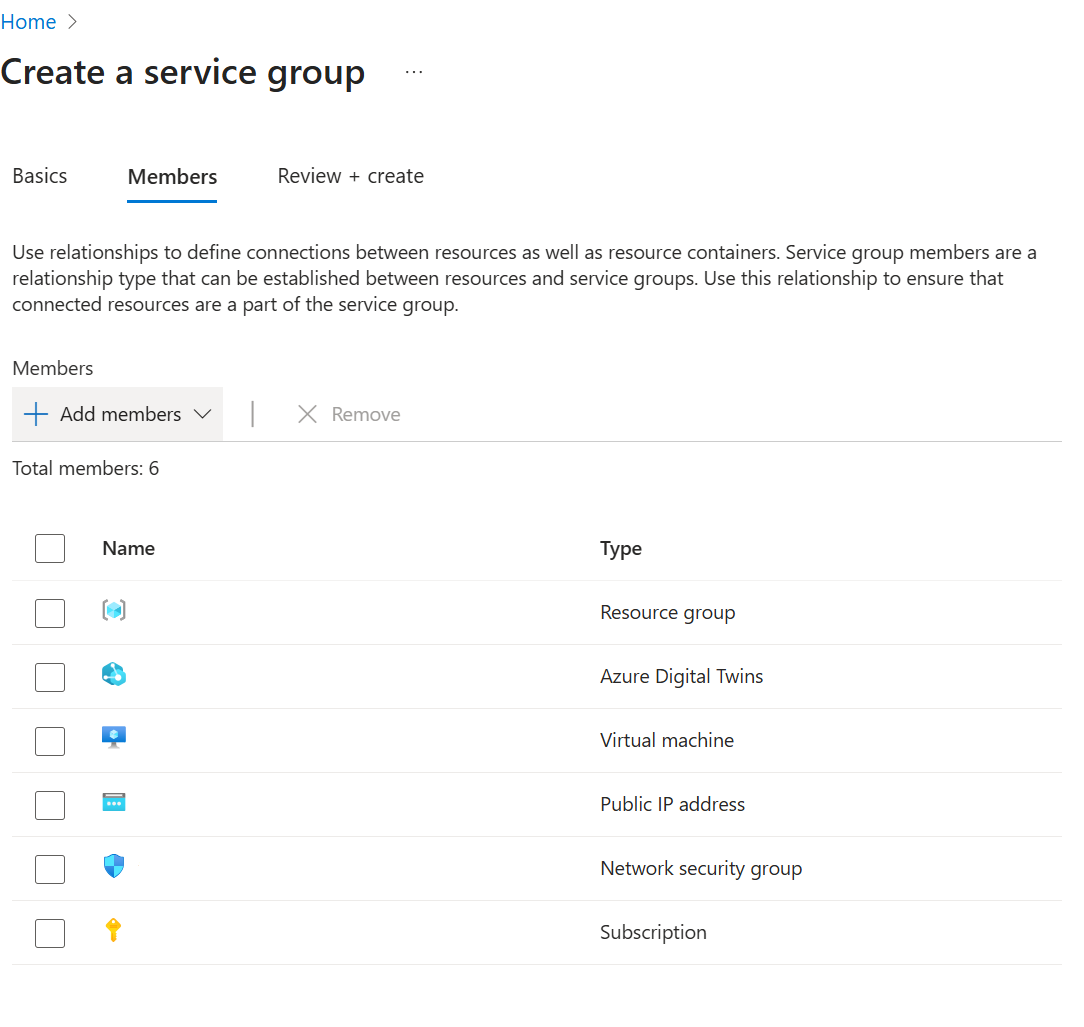
Continue the service group creation flow or if all information is correct, select Review + Create
Add members to existing service group
Log into the Azure portal.
Search for Service Groups using the top portal search bar.
Select Service Groups from the results.
Select the desired Service Group.
In the left hand side service menu, select Members under Relationship management.
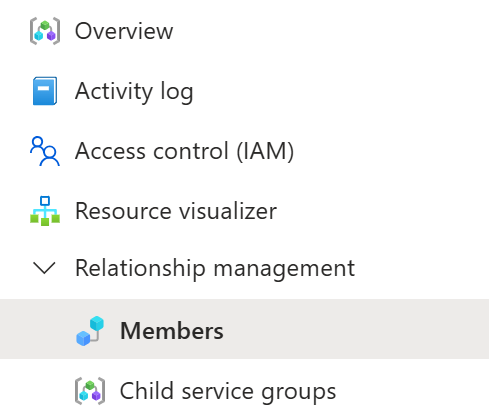
To add members, select the +Add button on the top action bar. Select to add individual resources, resource groups, or subscriptions. On the Add members pane, select and filter to the desired resources. Once all members are chosen, select Add.
Remove members from an existing service group
Log into the Azure portal.
Search for Service Groups using the top portal search bar.
Select Service Groups from the results.
Select the desired Service Group.
In the left hand side service menu, select Members under Relationship management.
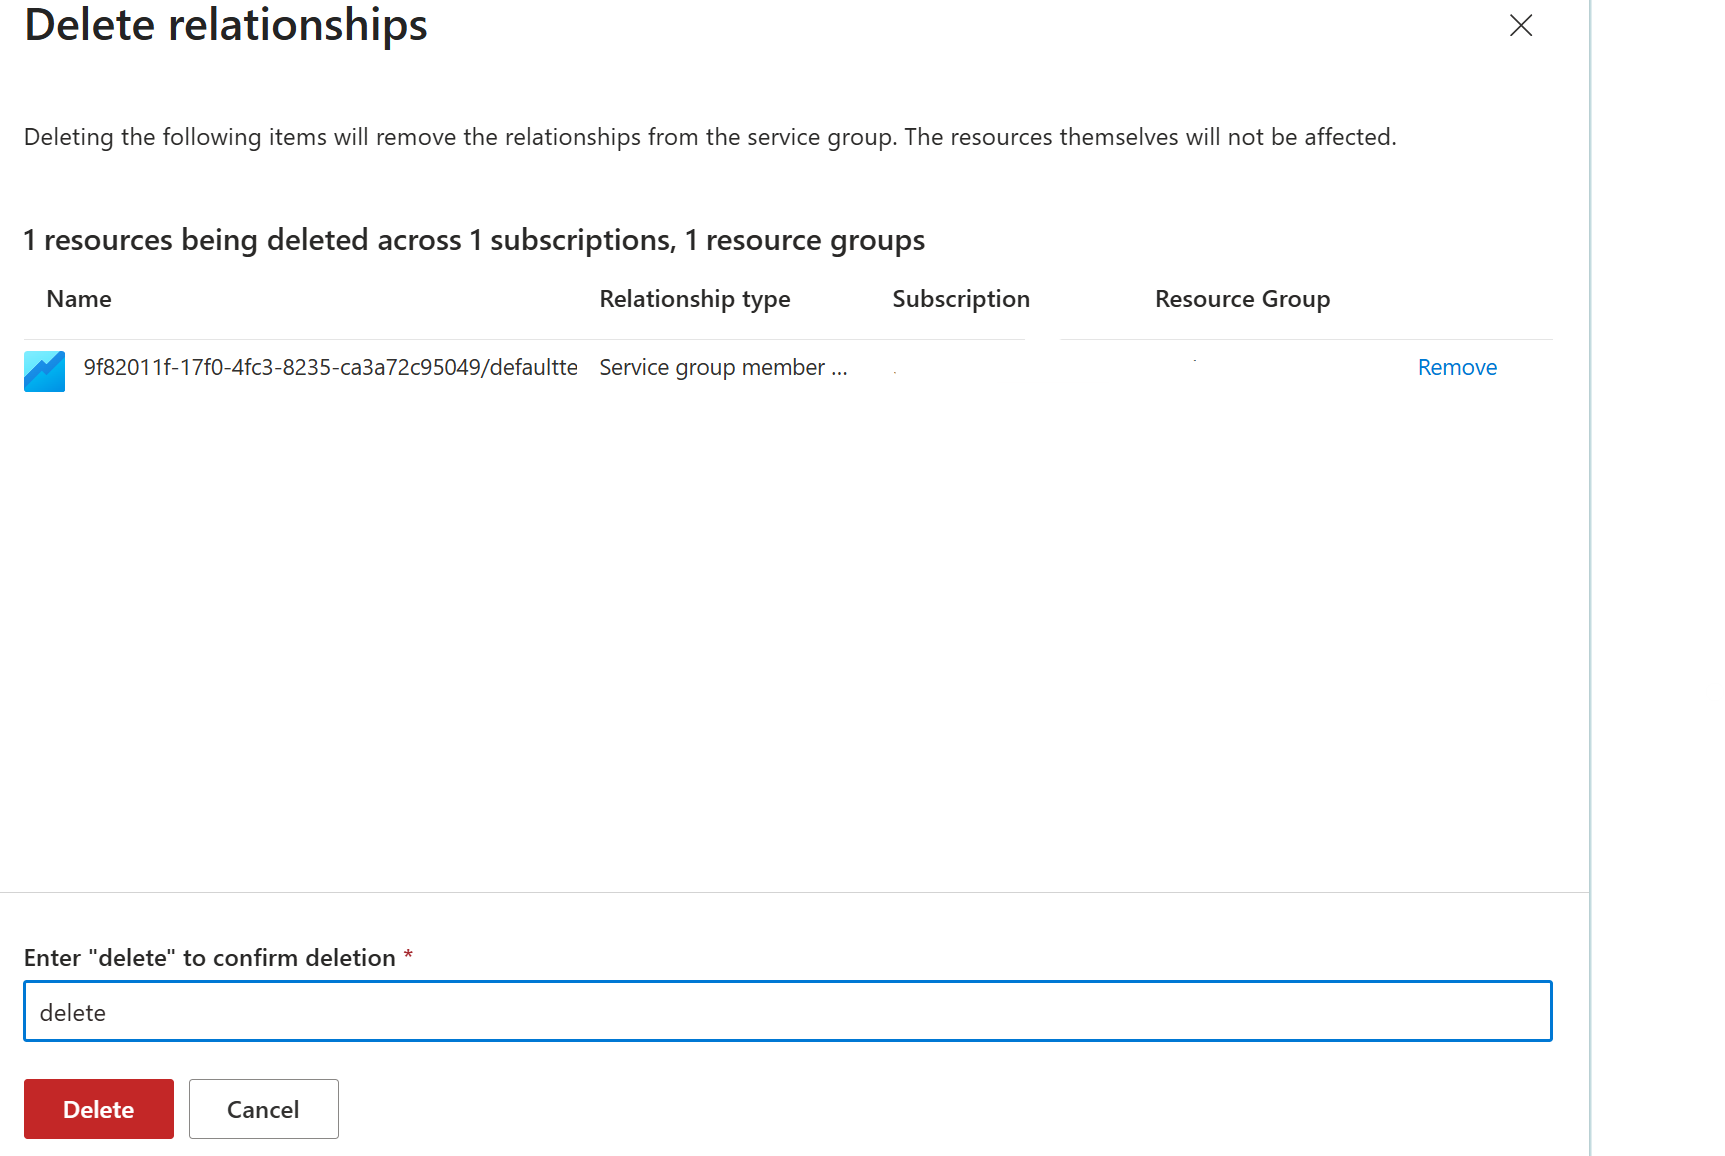
Select the members from the list by clicking the check box and press Delete from the top action bar. This removes the resource as a member, but doesn't delete the resource itself.
Note
Removing a member only breaks the connection between the resource and the service group. The underlying resource, resource group, or subscription isn't affected.
Next step
In this quickstart, you added members to service groups.
To learn more about managing membership at scale using Bicep, Azure Policy, or PowerShell scripts, see: