Bilješka
Pristup ovoj stranici zahtijeva provjeru vjerodostojnosti. Možete pokušati da se prijavite ili promijenite direktorije.
Pristup ovoj stranici zahtijeva provjeru vjerodostojnosti. Možete pokušati promijeniti direktorije.
Forms allow you to collect data from users and write them directly to your database.
Forms can be used for various scenarios, such as capturing expense reports, collecting survey responses, running polls or quizzes, gathering customer feedback, registering event attendees, managing internal requests, or onboarding new users. Their structured layout and configurable fields make data collection easier and streamline workflows for both individuals and teams.
In this article, you learn how to quickly generate forms from your table to collect user inputs, store them in your PowerTable app, and write them back to the database.
Create a form
Select Setup > Forms.
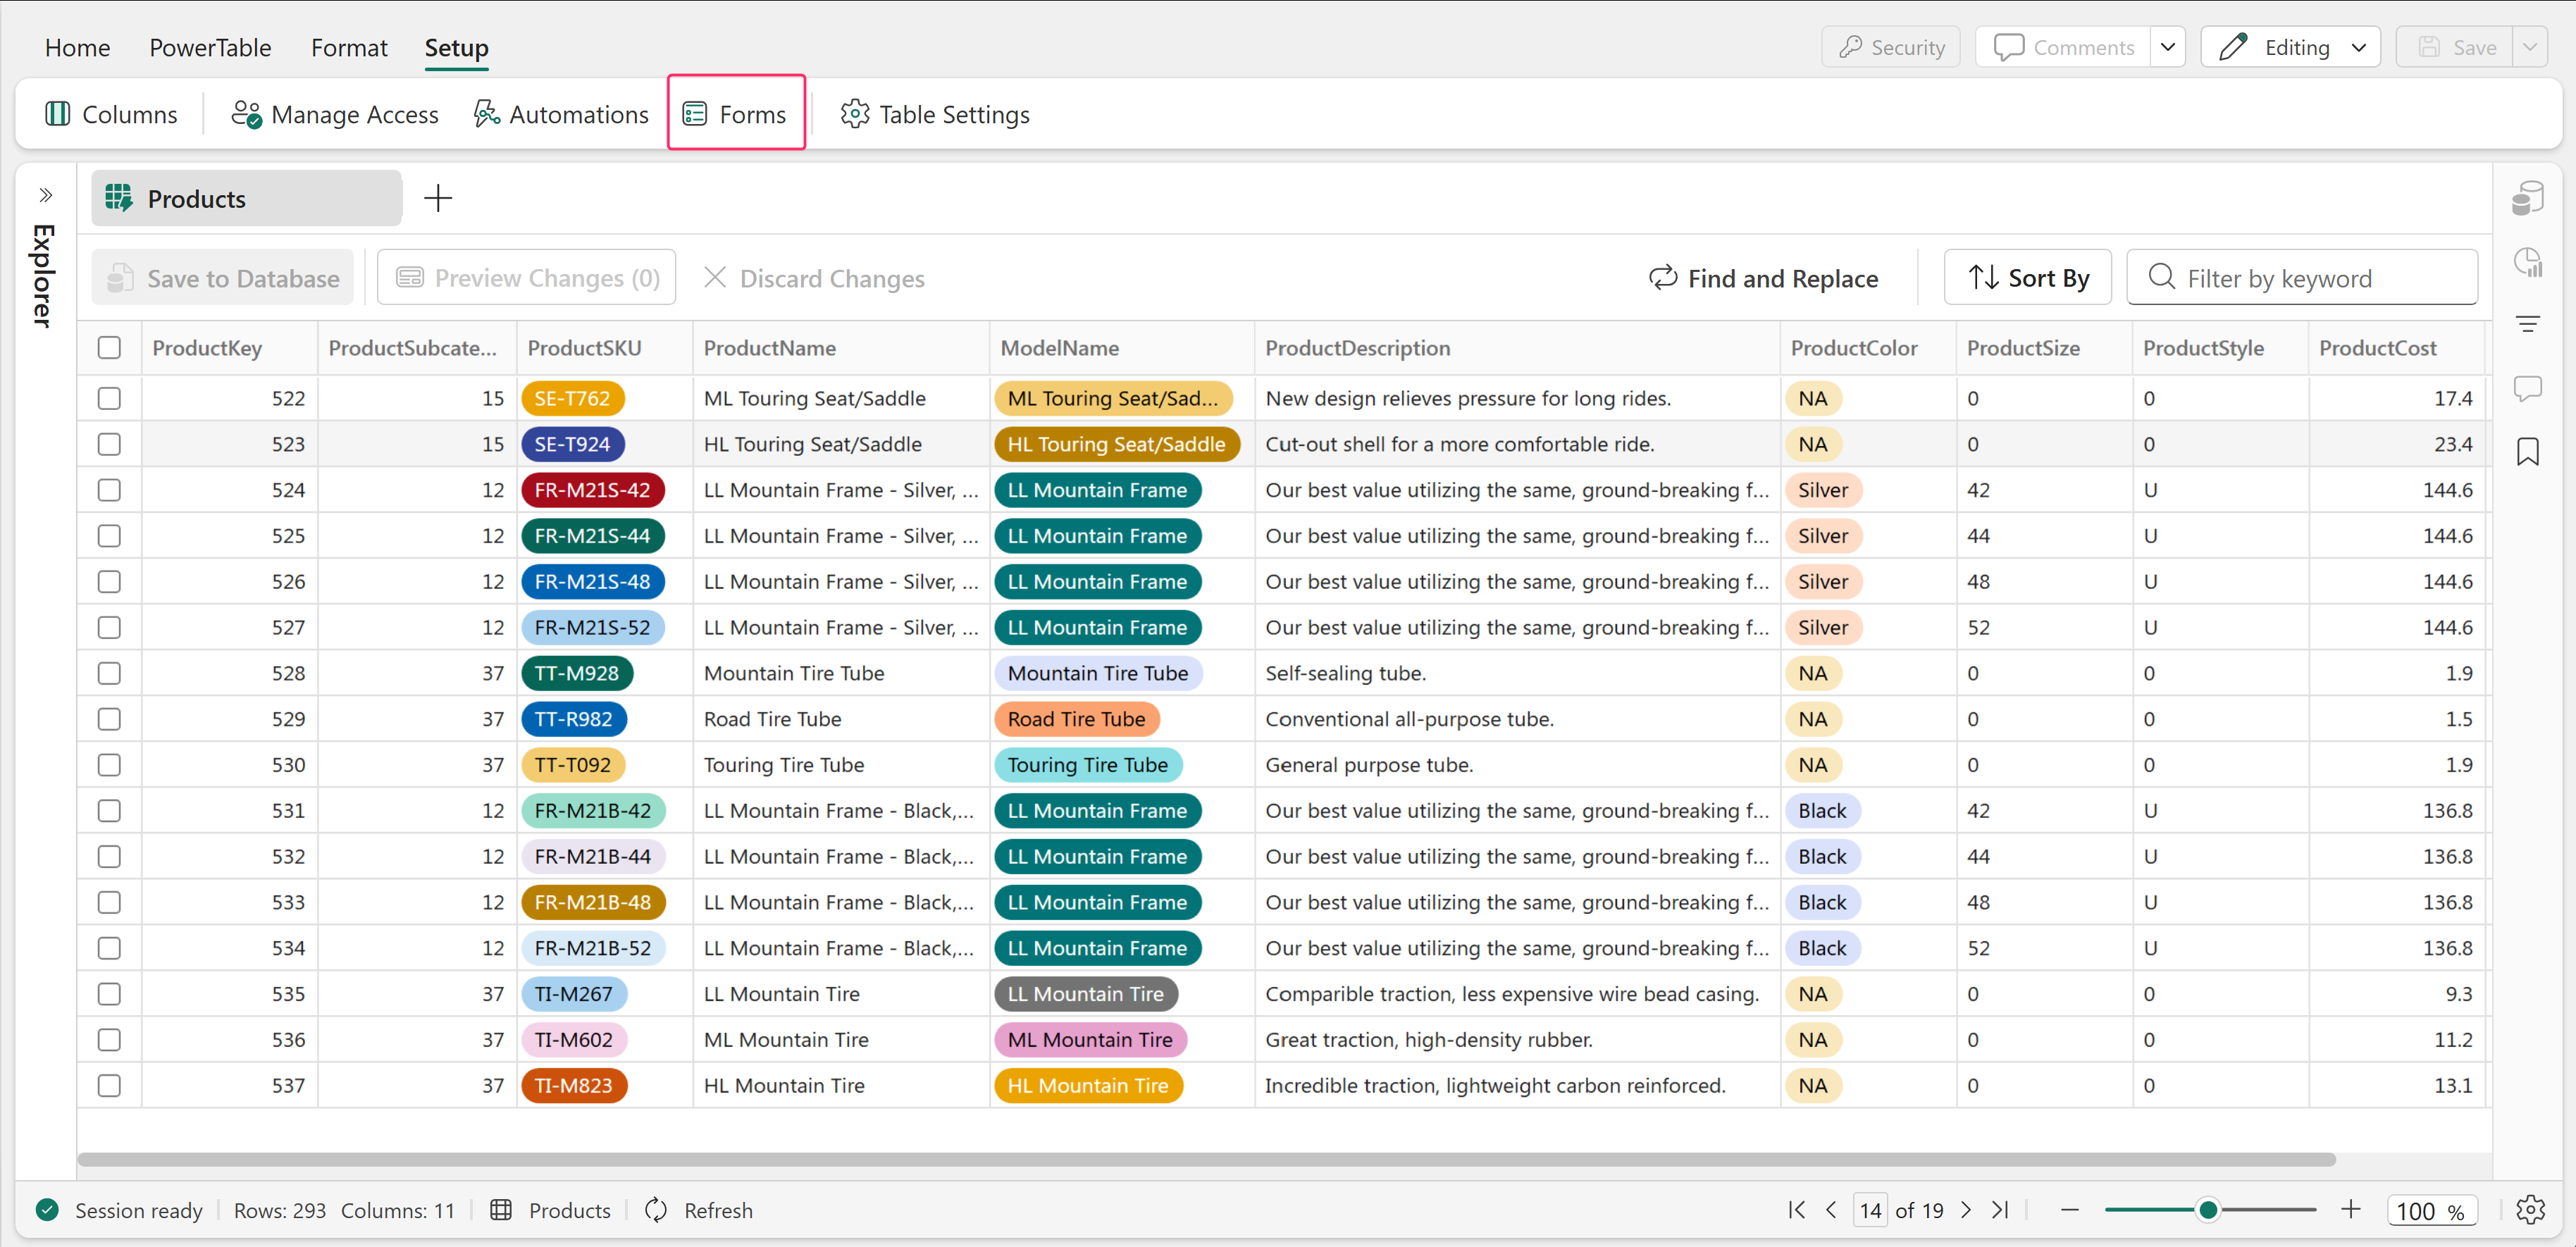
Select Create a Form. A form is generated with all the fields in the database.
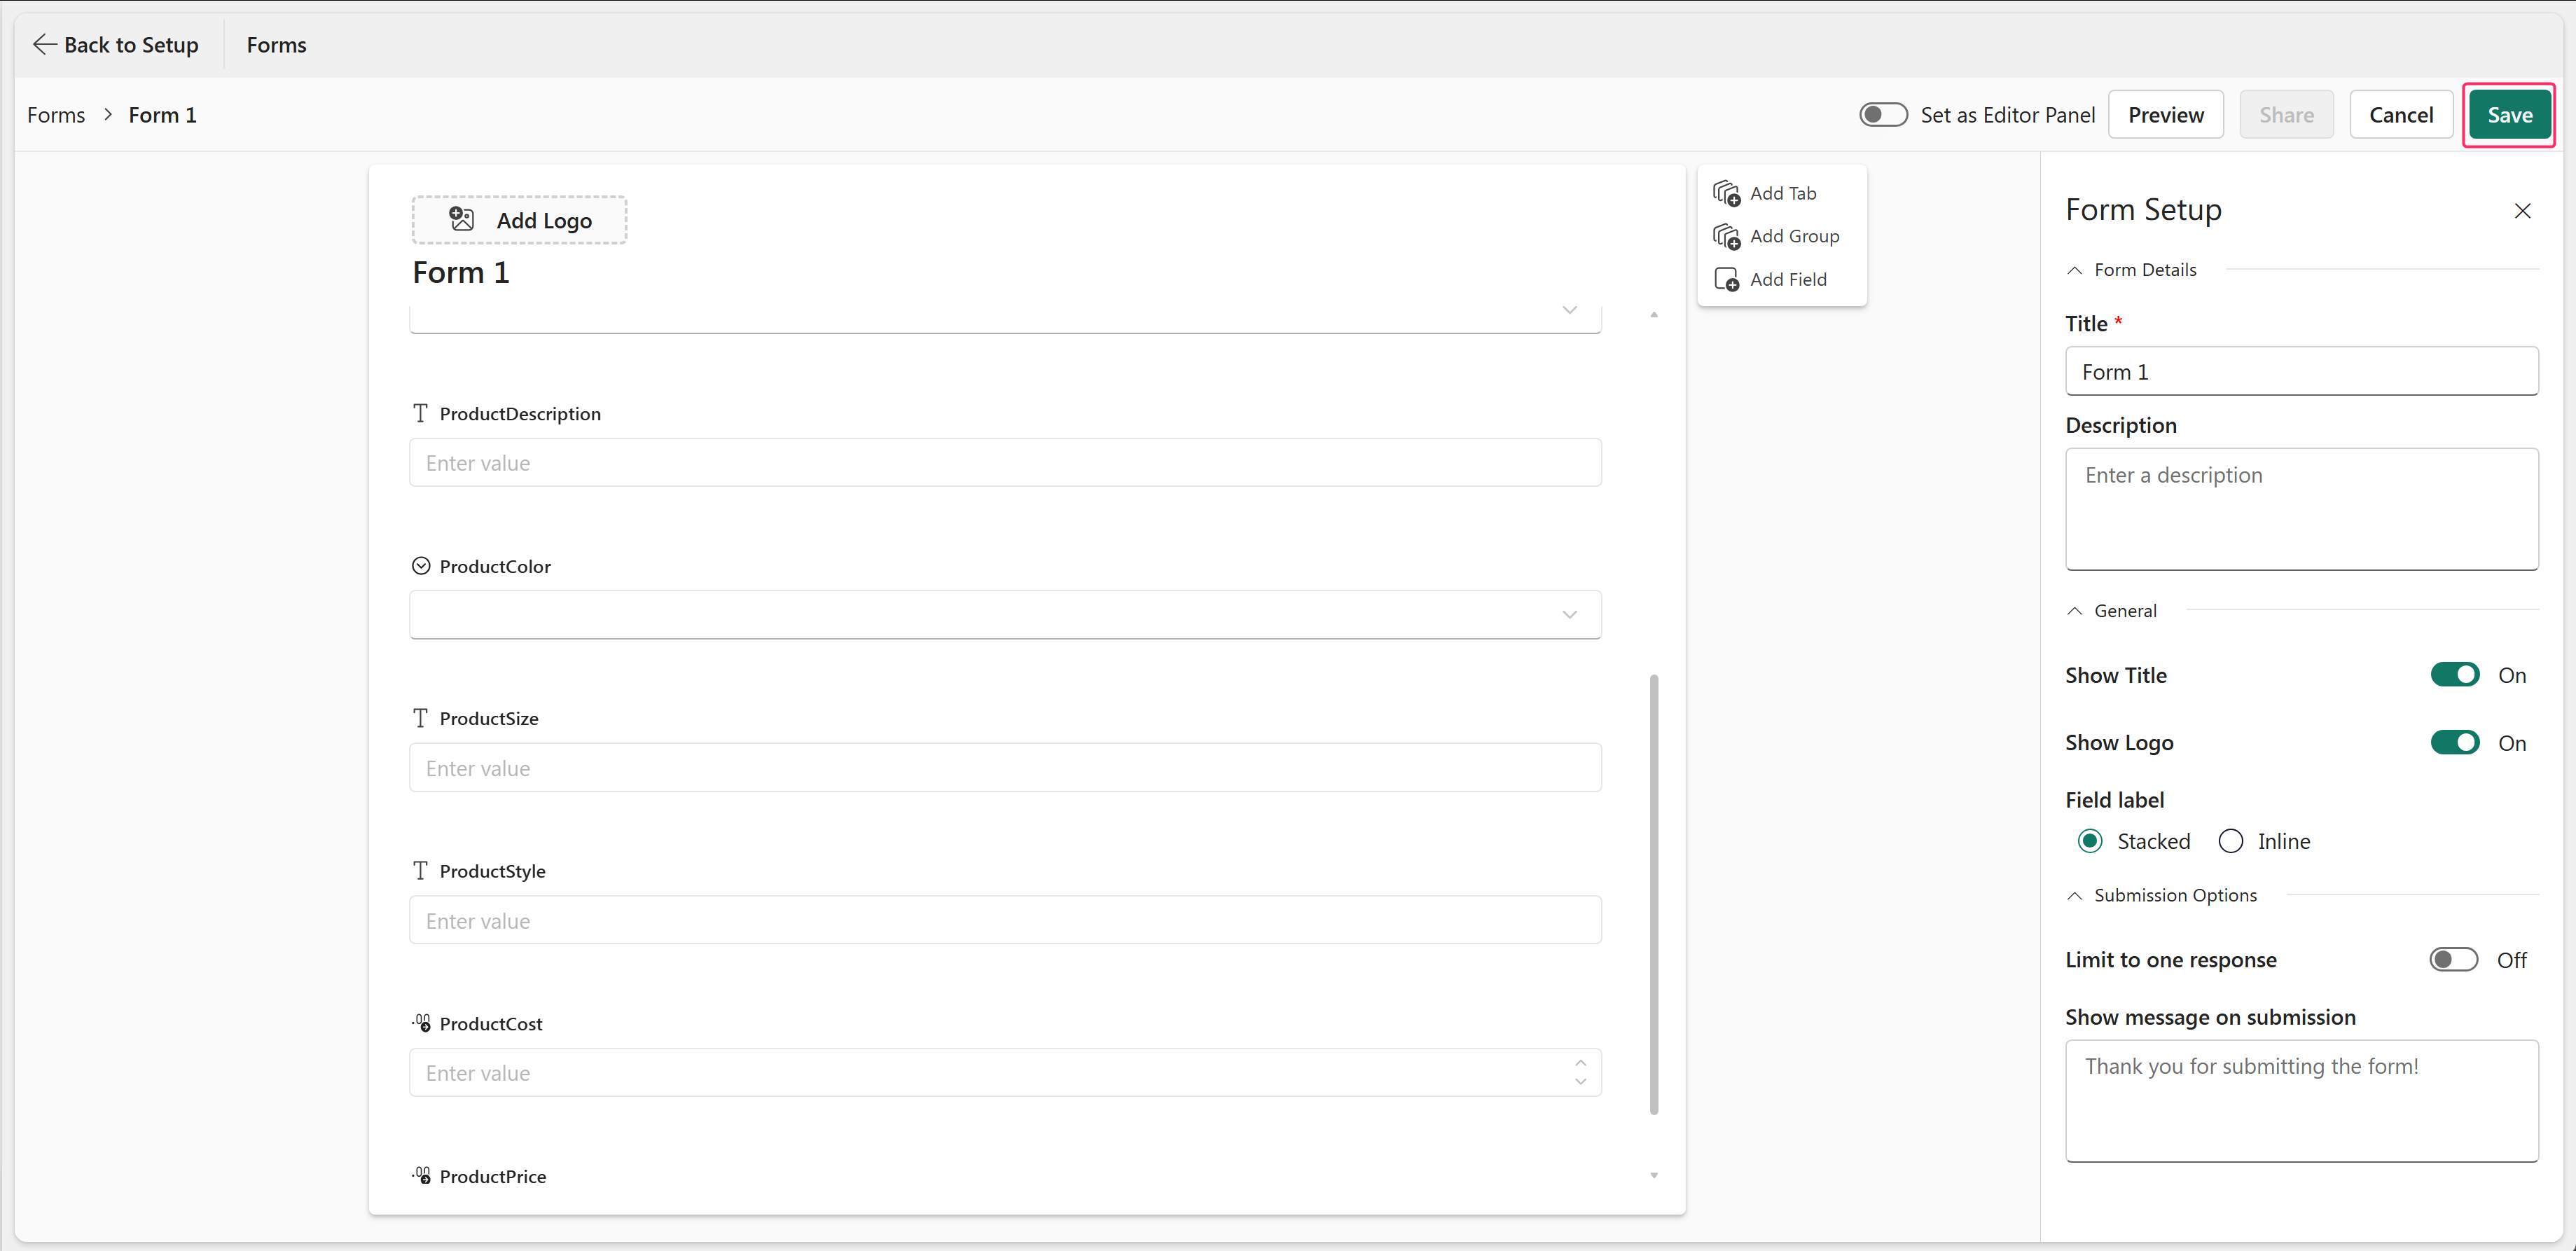
Select Save to generate the form with the default configuration.
Customize form
This section describes ways you can further customize your forms.
Add logo
Select Add Logo to add your organization's logo.
Delete field
Select the field and select the Delete (bin) icon to remove it. You can't delete the primary key field.
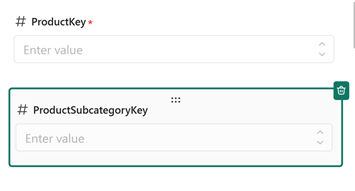
Add field
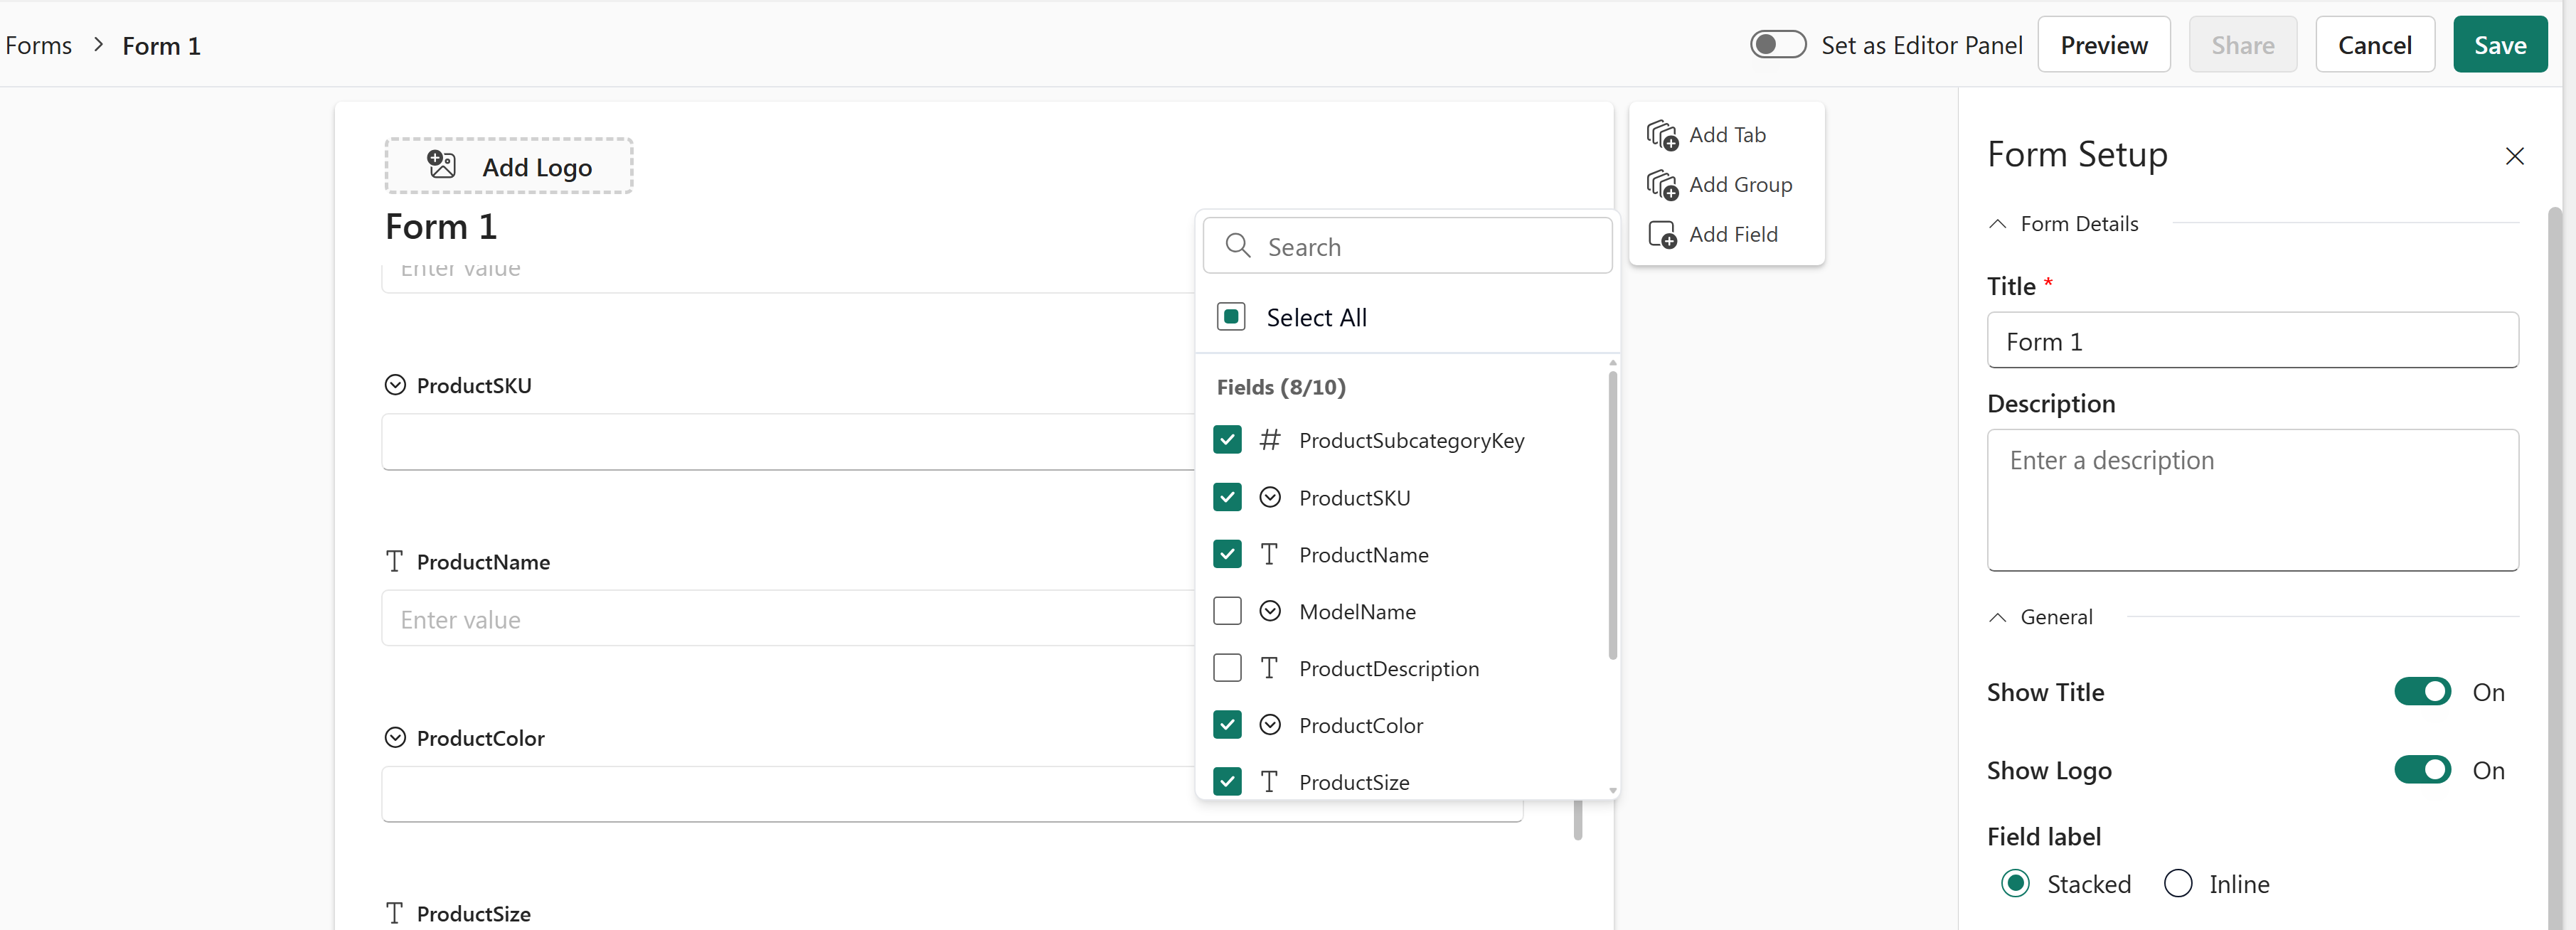
Select Add Field to add a new field from the table. Alternatively, select the + icon next to any field to add a new field.
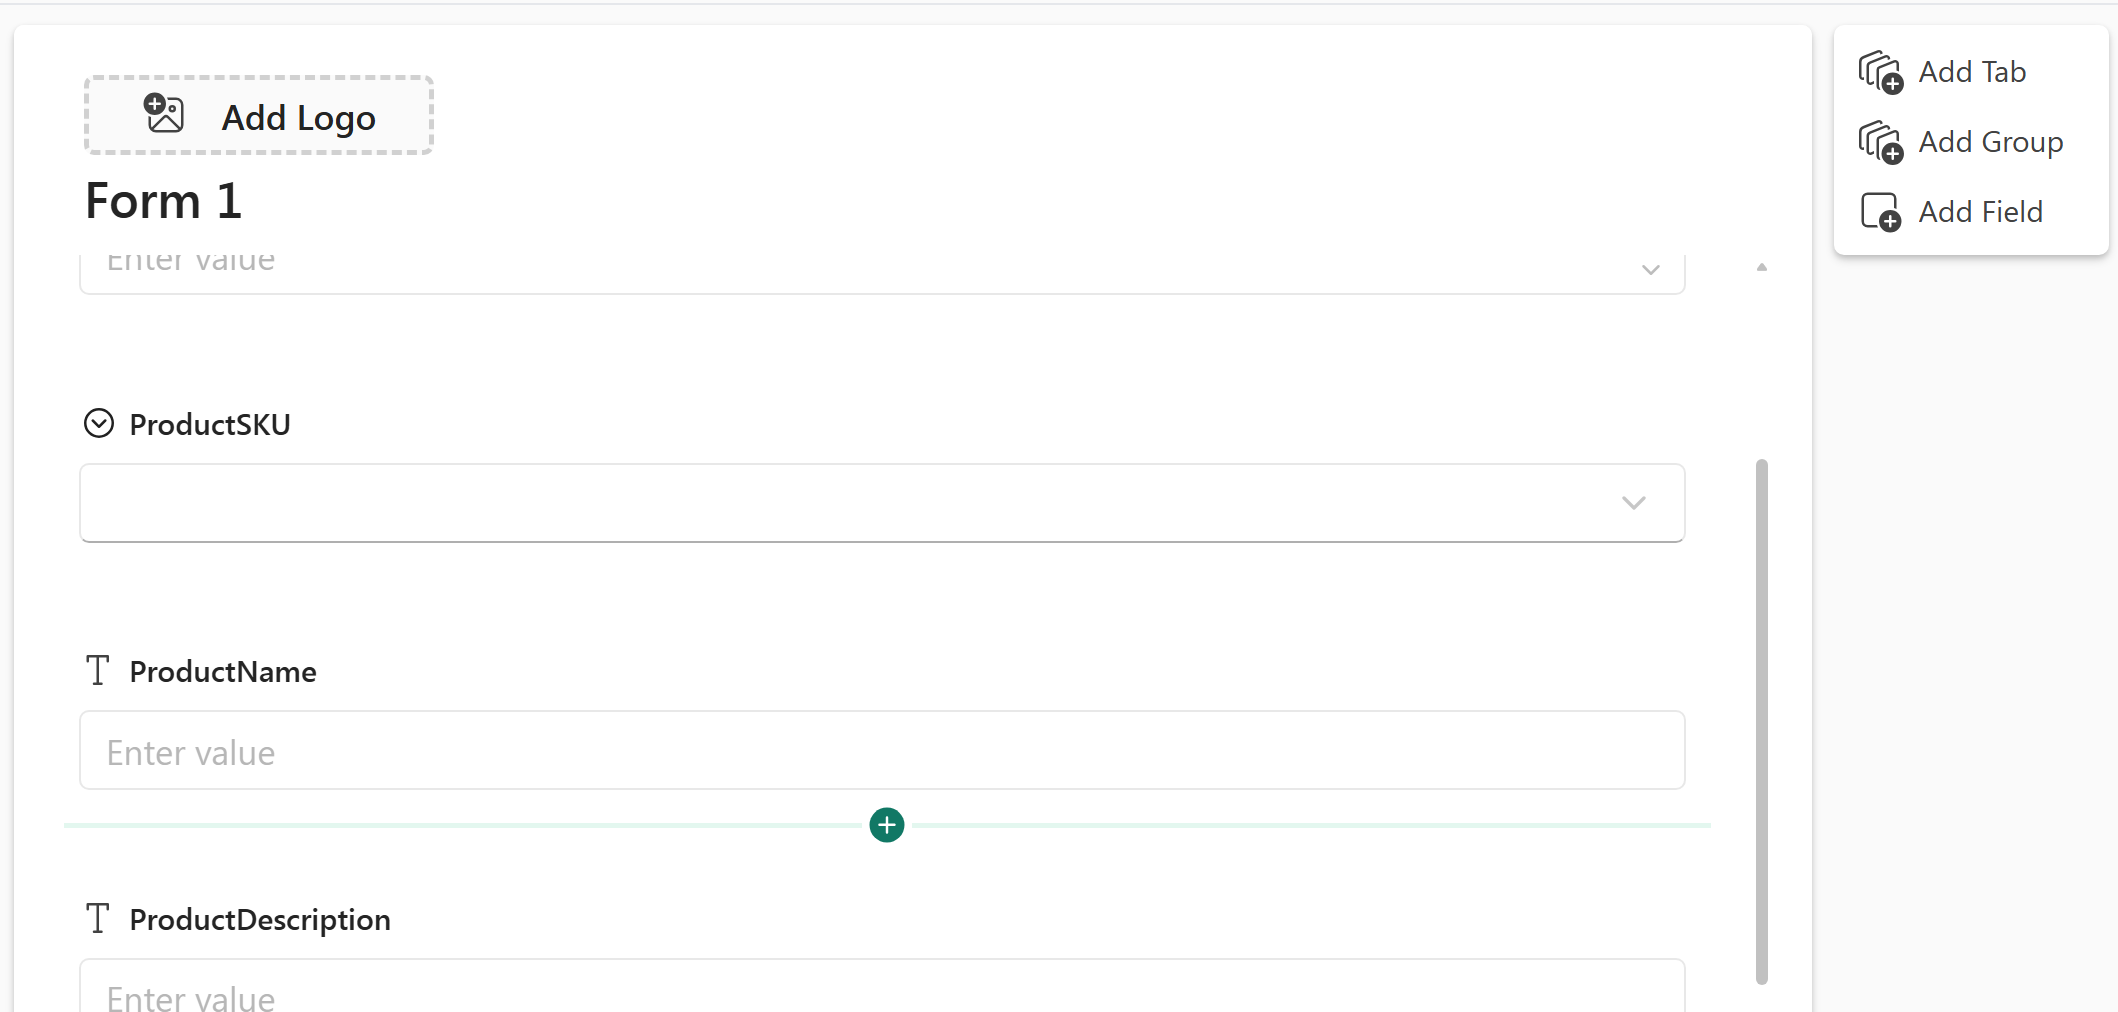
Select the required fields from the list. Select Select All to select all the table fields to add to the form.
Create field groups
To make user inputs more readable and organized, you can group related or similar fields together. In address blocks, for example, you can group related fields such as house number, street name, city, state, zip code, and so on.
Grouped fields also enable you to perform bulk operations on fields, such as hiding them or formatting them at once.
Select Add Group to create a new group.
A new field group is created, within which you can begin adding fields.
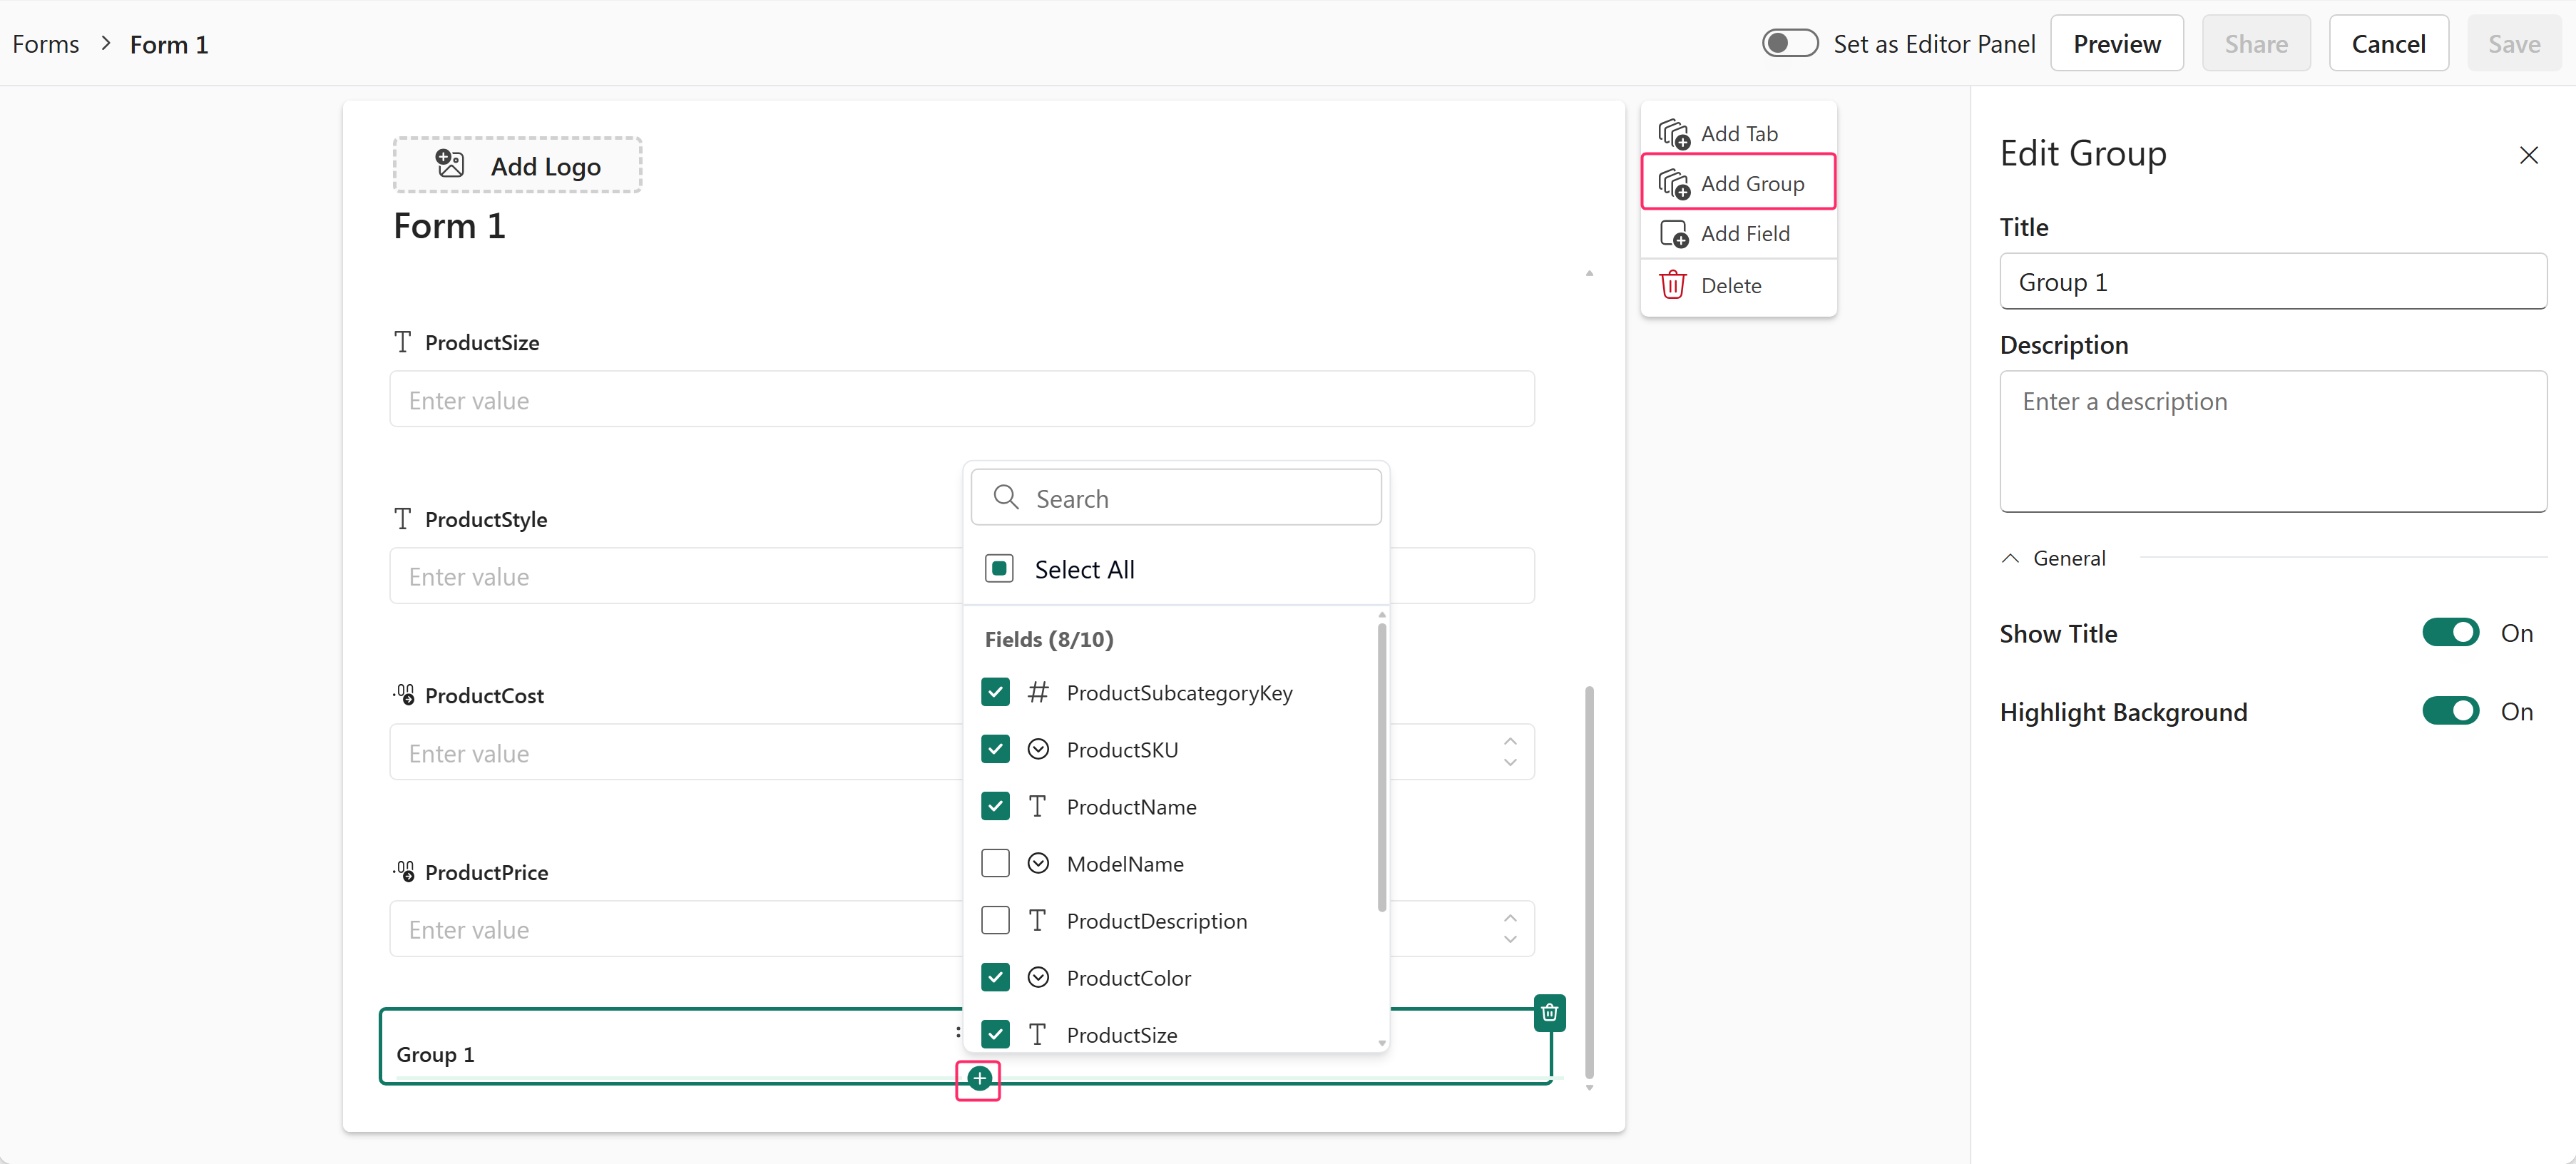
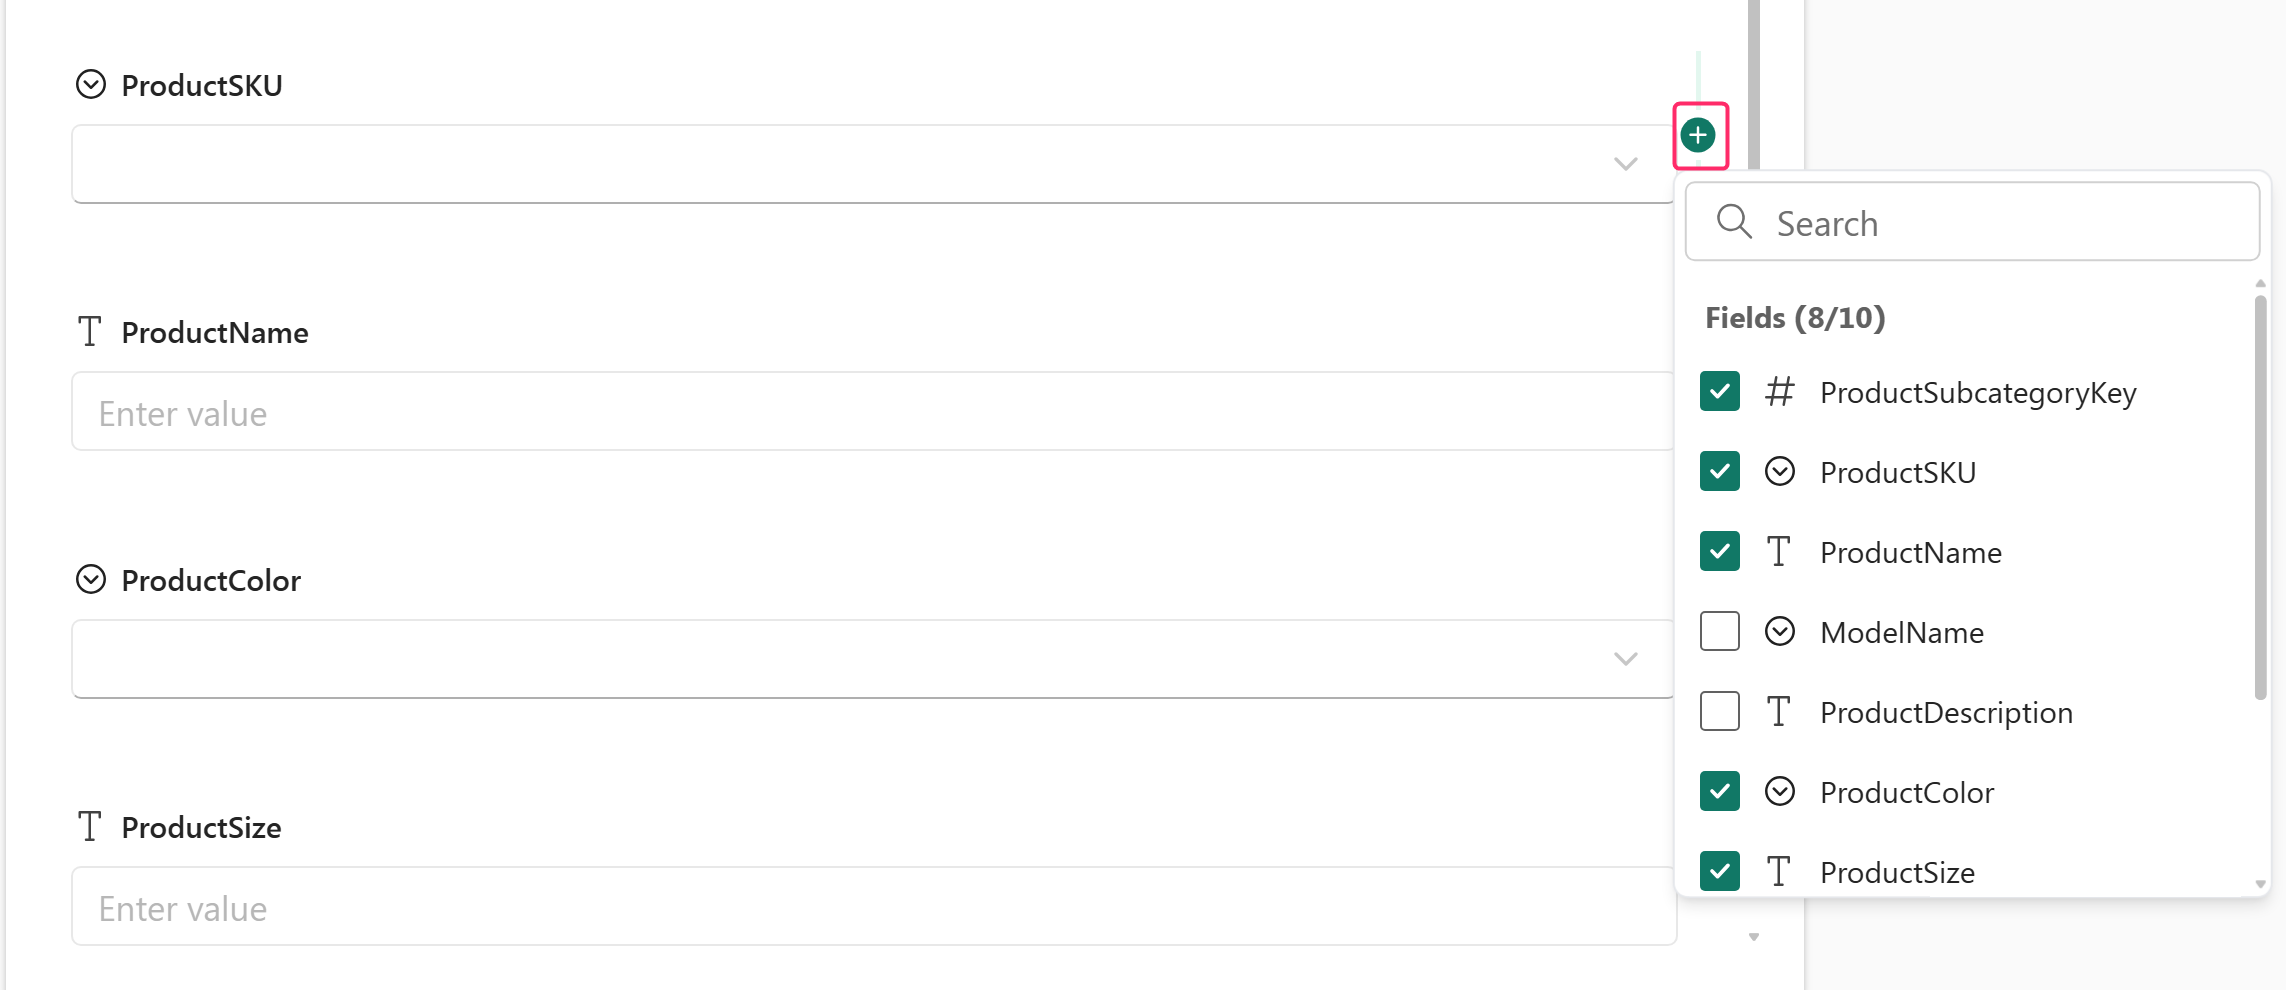
To group similar fields, use the + icon beside the field to group the new field with the existing one.
Add tab
You can split your form into multiple tabs and arrange relevant fields. Select Add Tab to add a new tab in your form. In the new tab, you can add fields.
Other customizations and setup
In the Form Setup, you can also complete these actions:
- Enter a title and description for the form.
- Show or hide the logo and title.
- Customize the style for displaying field labels.
- Choose the submission message and turn on or off the one-response limit.
While editing a field, you can complete these actions:
- For each field, you can enter the title and description.
- Set a default value.
- Make it a mandatory field for users to enter.
Select Preview to preview, and Save to save the form.
Share form
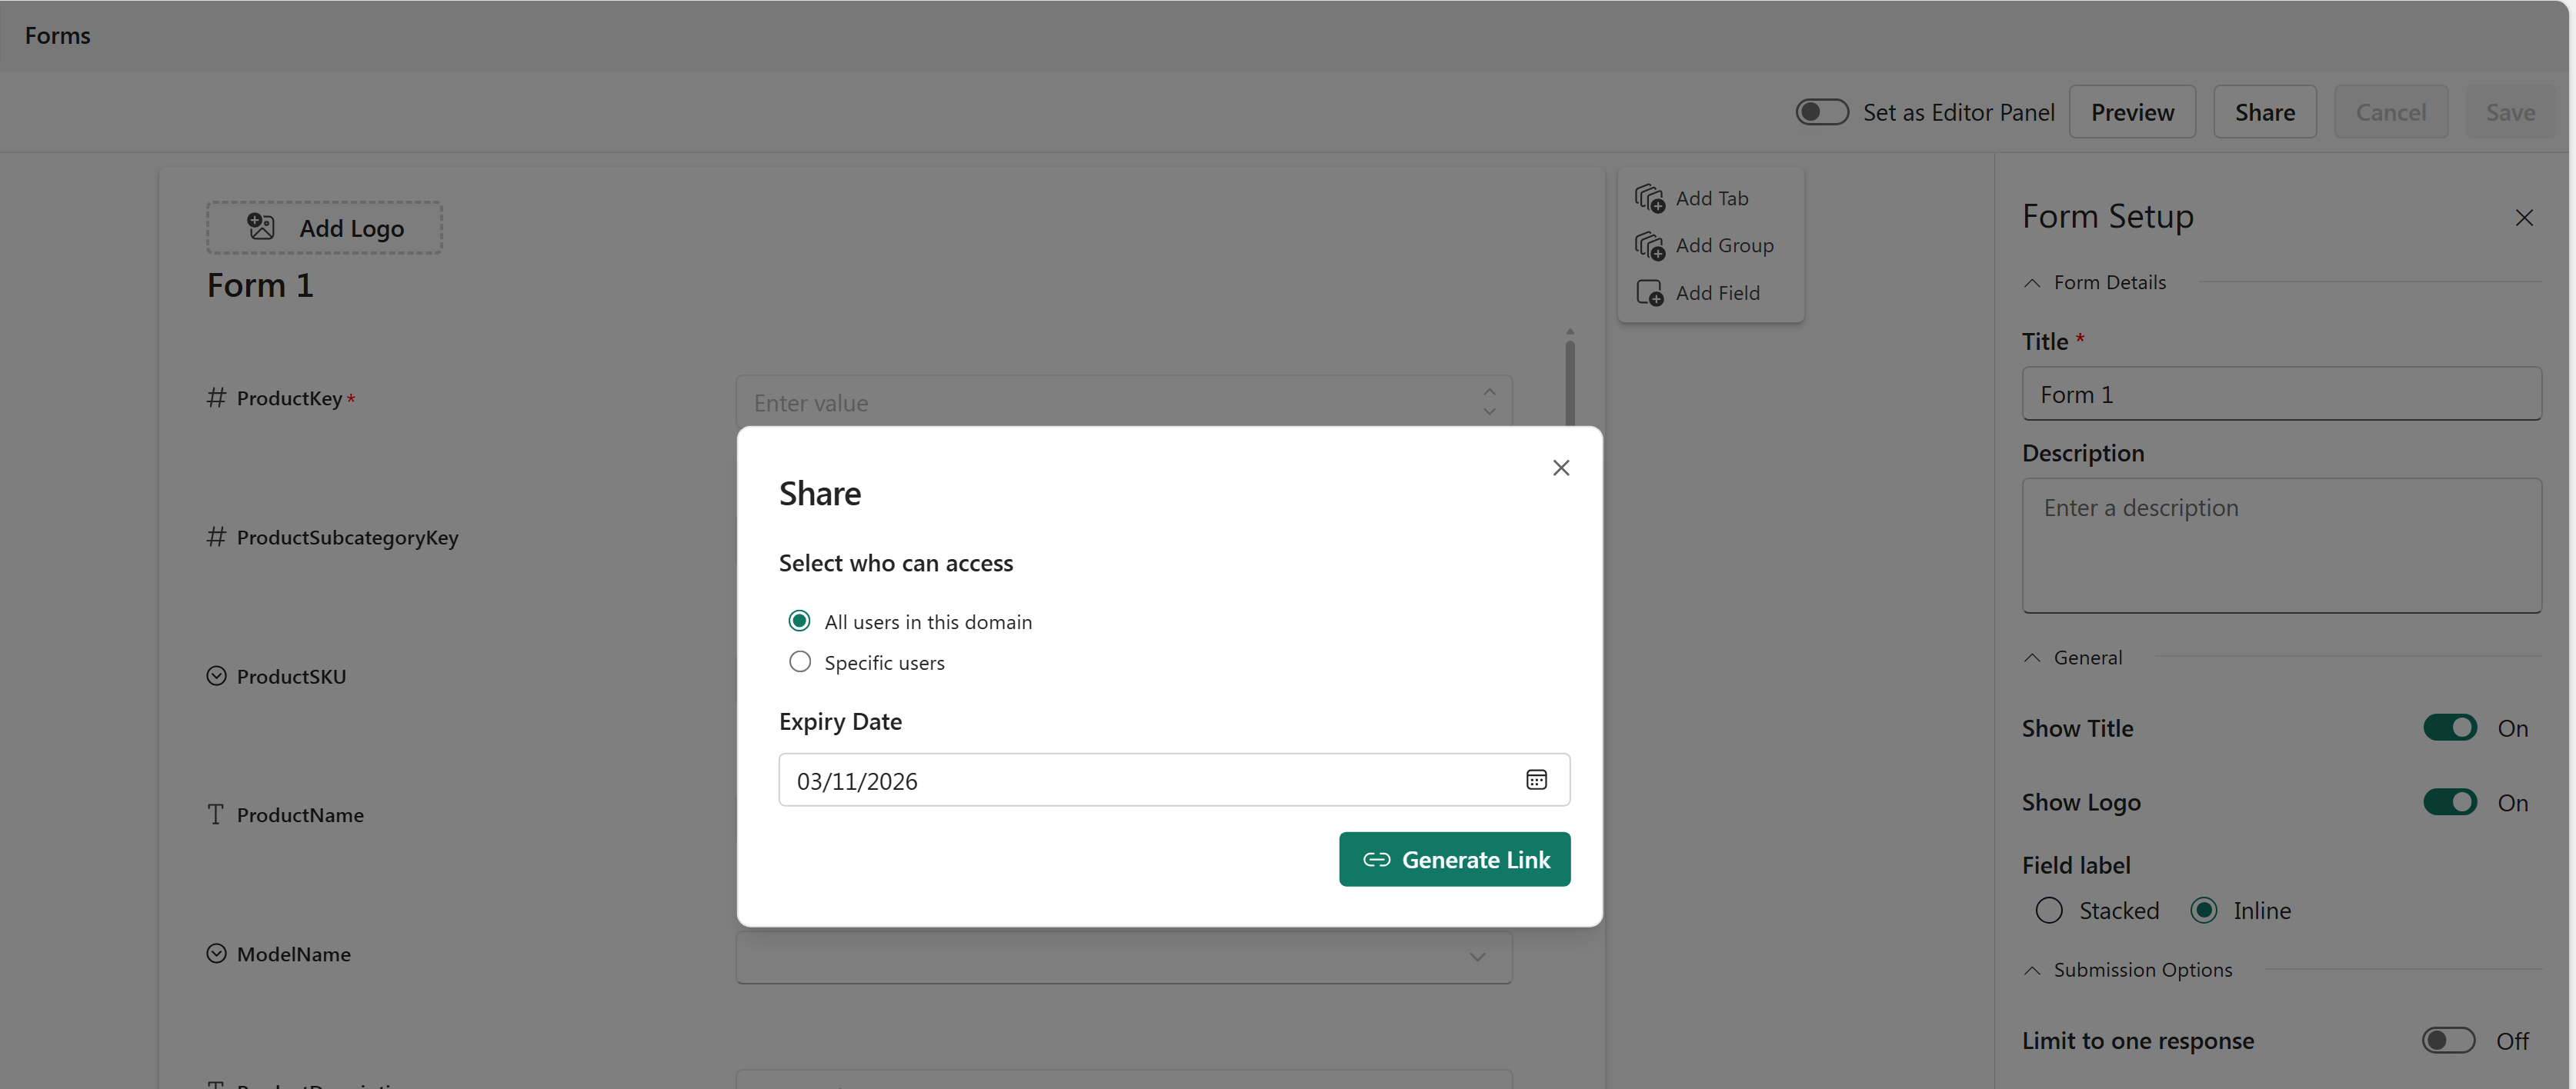
Select Share to create a shareable link for your form. You can share it to all users or restrict it to specific users by entering their email addresses.
Choose an expiration date for the form. Select Generate Link.