Bilješka
Pristup ovoj stranici zahtijeva provjeru vjerodostojnosti. Možete pokušati da se prijavite ili promijenite direktorije.
Pristup ovoj stranici zahtijeva provjeru vjerodostojnosti. Možete pokušati promijeniti direktorije.
This article describes how to set alerts on business events in Real-Time hub.
Important
This feature is in preview.
Navigate to Real-Time hub
Sign in to Microsoft Fabric.
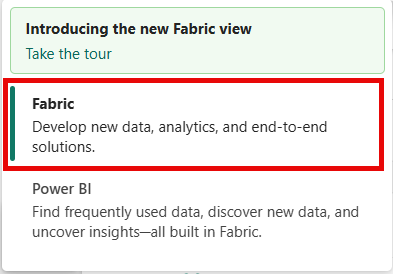
If you see Power BI at the bottom-left of the page, switch to the Fabric workload by selecting Power BI and then selecting Fabric.
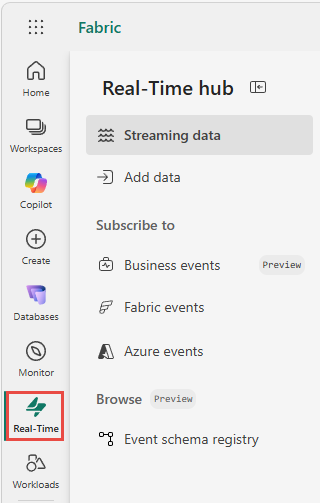
Select Real-Time on the left navigation bar.
Launch the Set alert page
Do steps from one of the following sections, which opens a side panel where you can configure the following options:
- Events you want to monitor.
- Conditions you want to look for in the events.
- Action you want Fabric Activator to take.
Launch from the events list
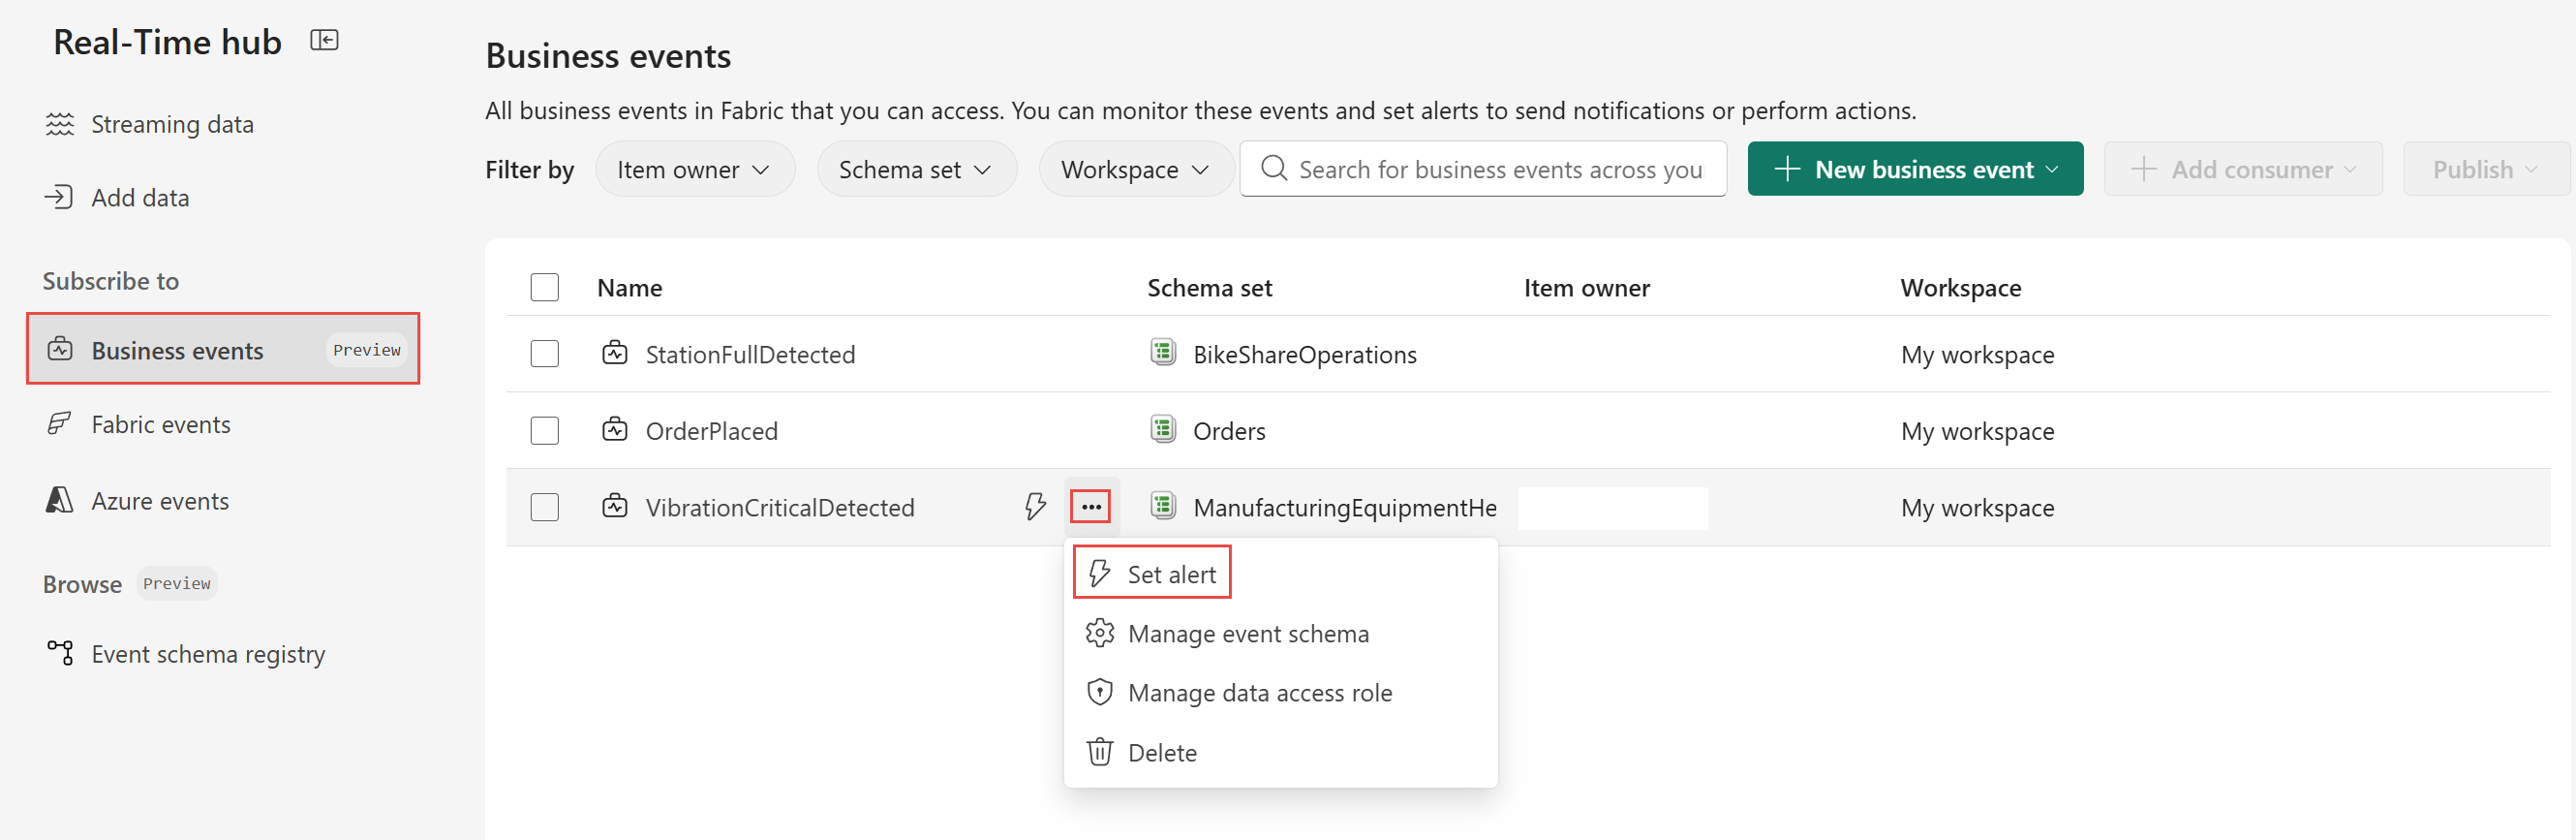
In Real-Time hub, select Business events under the Subscribe to category.
Move the mouse over your business event, and do one of the following steps:
Select the Set alert button.
Select ellipsis (...), and select Set alert.
Launch from the event detail page
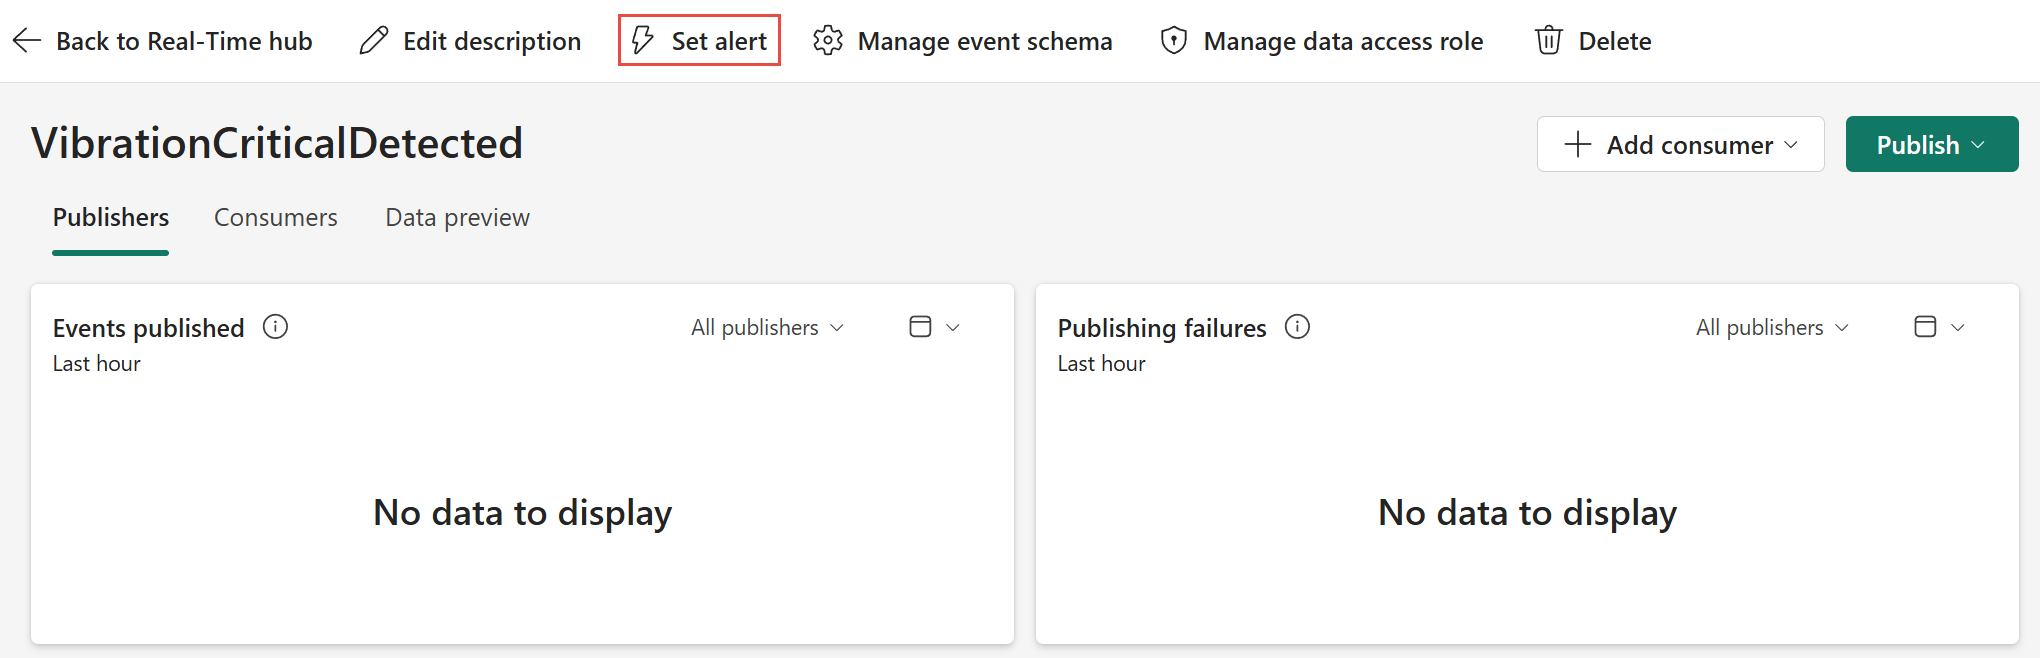
Select your business event from the list.
On the detail page, select Set alert at the top of the page.
Details section
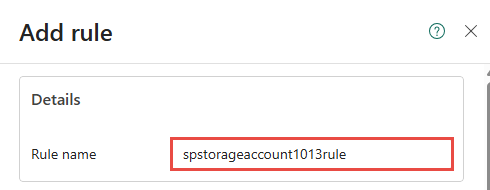
On the Add rule page, in the Details section, for Rule name, enter a name for the rule.
Monitor section
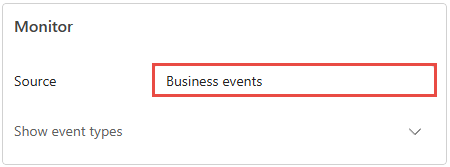
In the Monitor section of the Add rule pane, select Business events for Source.
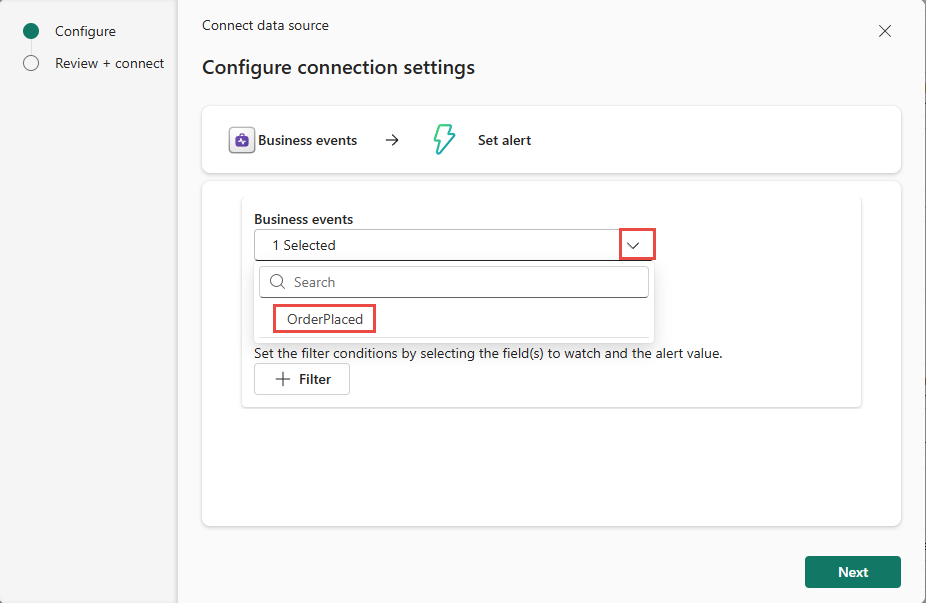
On the Configure page of the Connect data source wizard, confirm that your business event is selected under Business events.
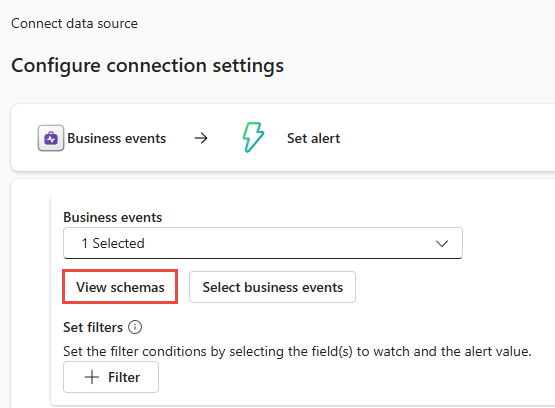
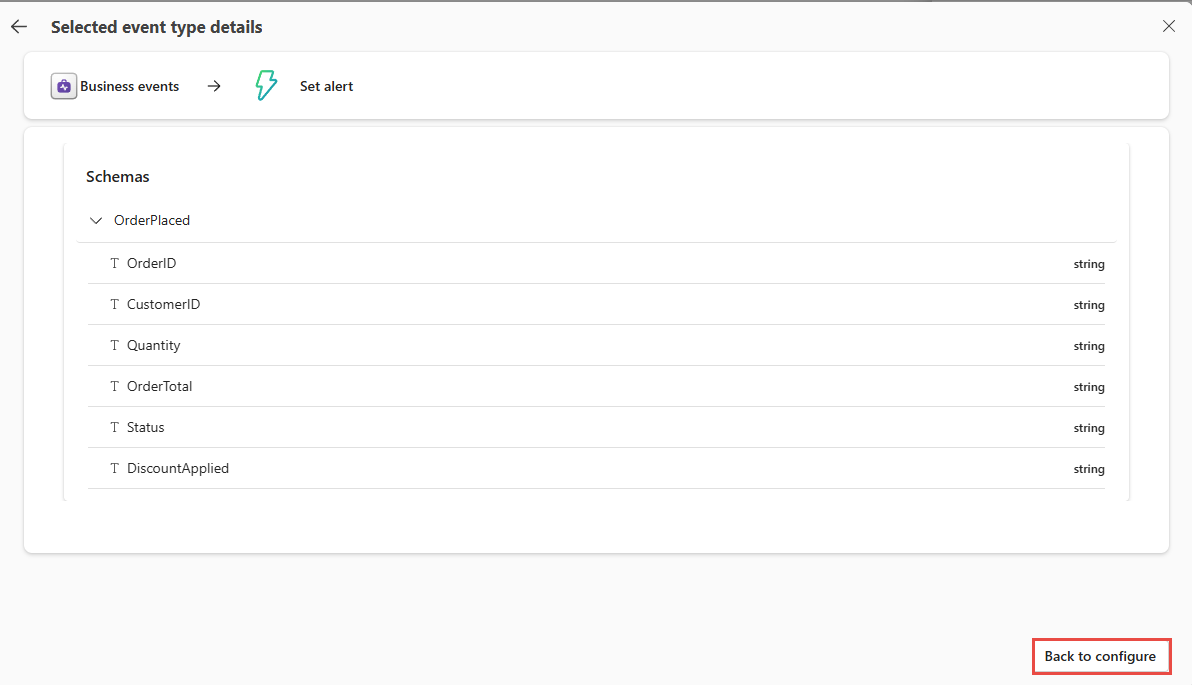
Select View schemas to see the event schema for your business event.
Review the event schema, and select Back to configure to return to the configuration page.
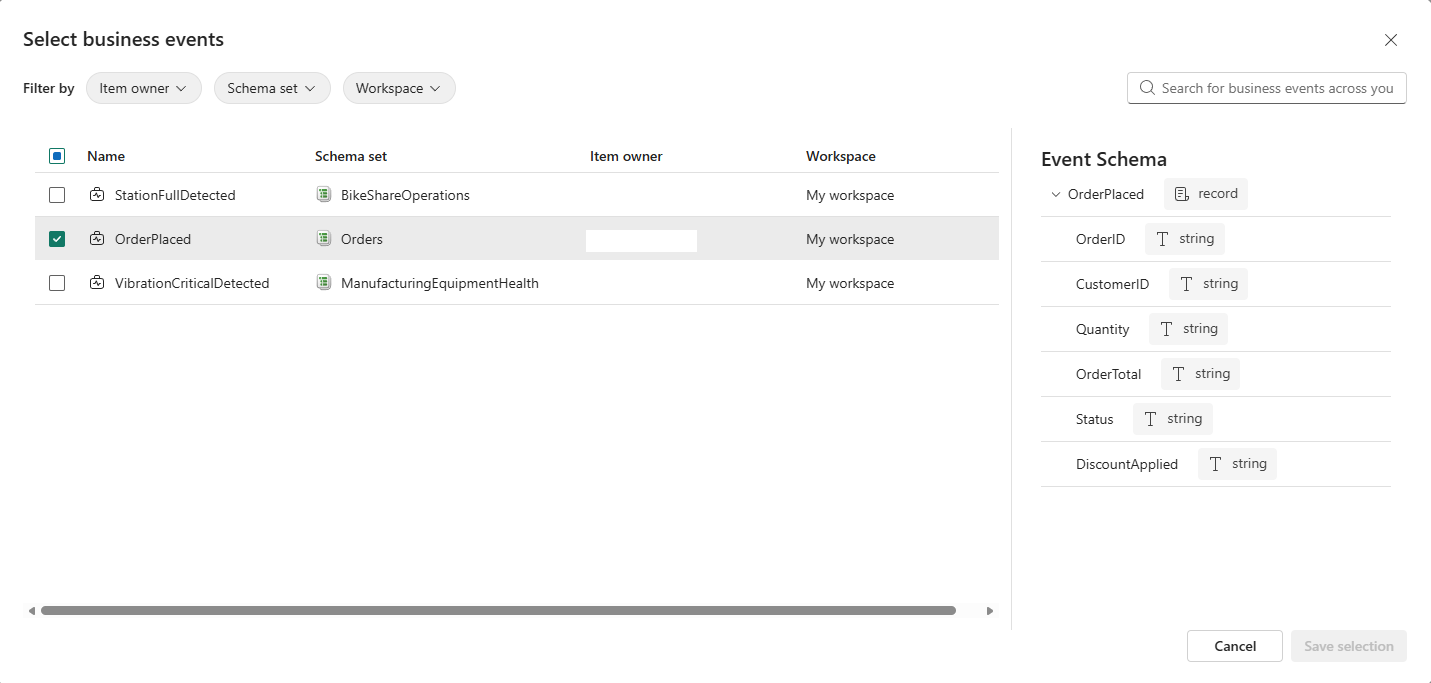
Choose Select business events to change the business event you want to monitor or to monitor multiple business events in the same rule. When you select multiple business events, they must be associated with schemas in a single schema set. If you make changes, select Save selection at the bottom of the page. If you don't make any change, select Cancel to close the business event selection page.
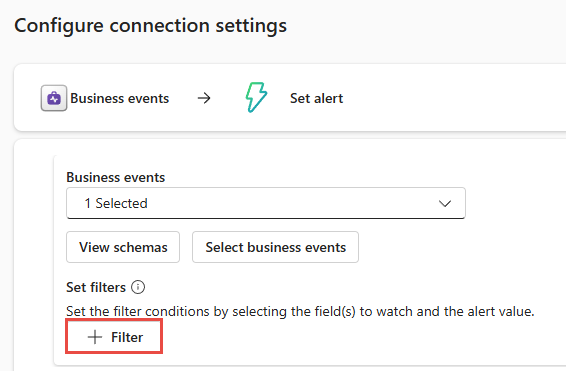
On the Configure page, select + Filter to add filters to the events. You can add multiple filters to filter the events based on your needs.
Select the field you want to filter on, choose the operator, and enter the value for the filter.

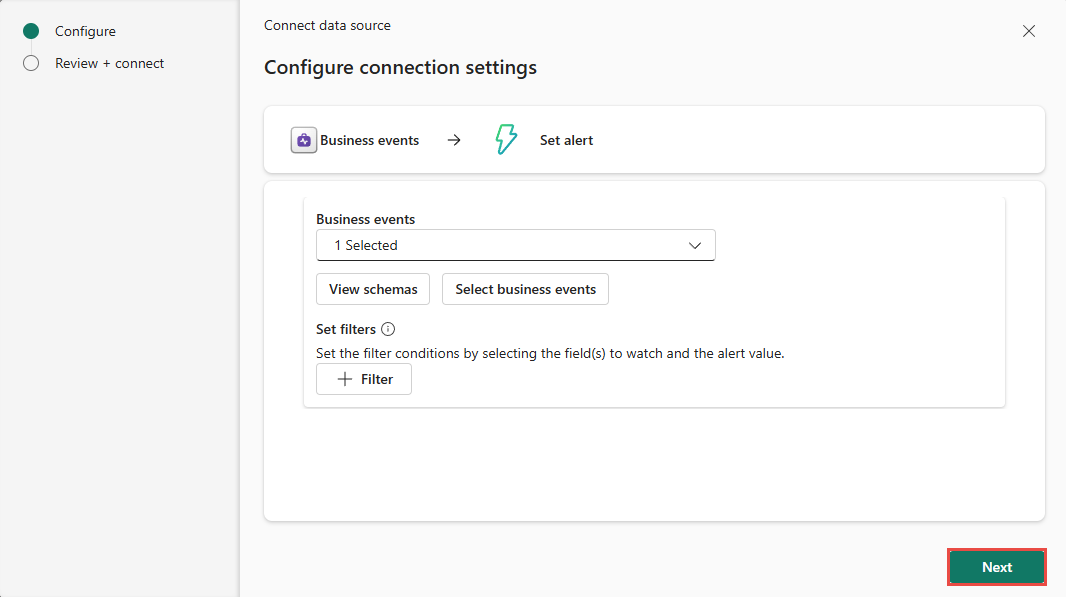
Select Next at the bottom of the page.
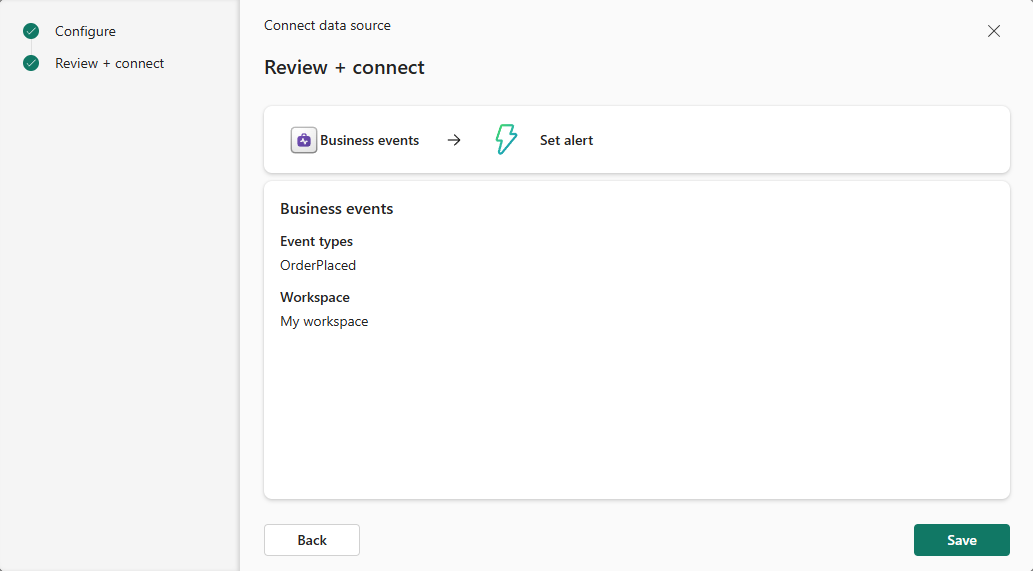
On the Review + connect page, review the settings, and select Save.
Condition section
Choose the type of condition that you want to detect. You can use conditions that check:
- on each event, do an action
- on each event when a value is met, do an action
- on each event grouped by a field, do an action (for example, on each
PackageIdevent when ``Temperatureis greater than30`)
Follow one of these steps:
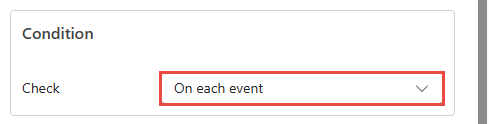
In the Condition section, for Check, select On each event.
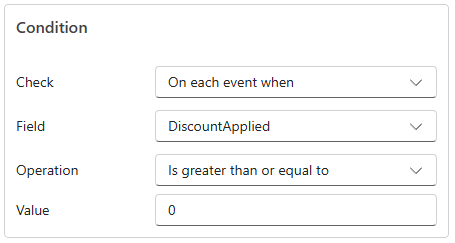
In the Condition section, for Check, select On each event when a value is met. Then, select the field that you want to check, the operator, and the value.
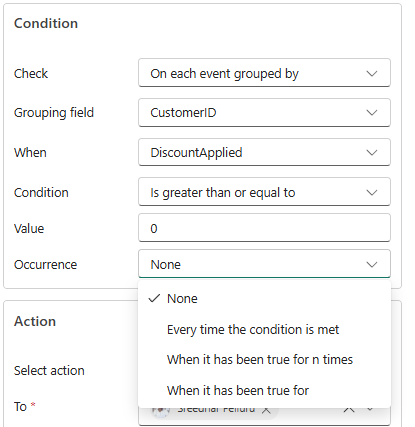
In the Condition section, for Check, select On each event grouped by a field when a value is met. Then, select the field that you want to group by, the field that you want to check, the operator, the value, and the occurrence. The occurrence can be one of these values: every time the condition is met, when it occurred specific number of times, when it was true for a specific duration.
Action section
In the Action section, select one of the following actions:
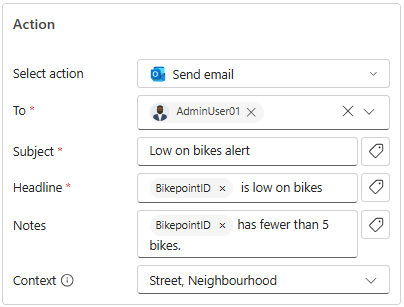
To configure the alert to send an email when the condition is met, follow these steps:
For Select action, select Send email.
For To, enter the email address of the receiver or use the drop-down list to select a property whose value is an email address.
For Subject, enter a subject for the email.
For Headline, enter a headline for the email.
For Notes, enter notes for the emails.
Note
When entering subject, headline, or notes, you can refer to properties in the data by typing
@or by selecting the button next to the text boxes. For example,@BikepointID.For Context, select values from the drop-down list that you want to include in the context.
Teams message
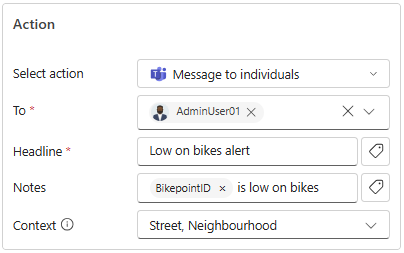
To configure the alert to send a Teams message to an individual or a group chat or a channel when the condition is met, follow these steps:
For Select action, select Teams -> Message to individuals or Group chat message, or Channel post.
Follow one of these steps depending on the option you selected in the previous step:
- If you selected the Message to individuals option, enter email addresses of receivers or use the drop-down list to select a property whose value is an email address. When the condition is met, a Teams message is sent to specified individuals.
- If you selected the Group chat message option, select a group chat from the drop-down list. When the condition is met, a message is posted to the group chat.
- If you selected the Channel post option, select a team and a channel. When the condition is met, a message is posted in the channel.
For Headline, enter a headline for the Teams message.
For Notes, enter notes for the Teams message.
Note
When entering headline or notes, you can refer to properties in the data by typing
@or by selecting the button next to the text boxes. For example,@BikepointID.For Context, select values from the drop-down list that you want to include in the context.
Run Fabric activities
An Activator rule can run a Fabric activity defined in one of the following Fabric item types:
- Dataflow
- Pipeline
- Spark job
- Notebook
- Function
- Copy job
- Publish business event (preview)
To configure your rule to launch a Fabric activity, follow these steps:
For Select action, select the appropriate Fabric item type within the "Run Fabric Activities" section
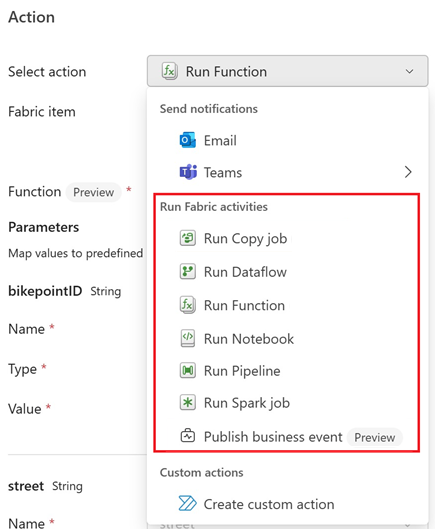
On Select Fabric item to run, select the Fabric item from the list.
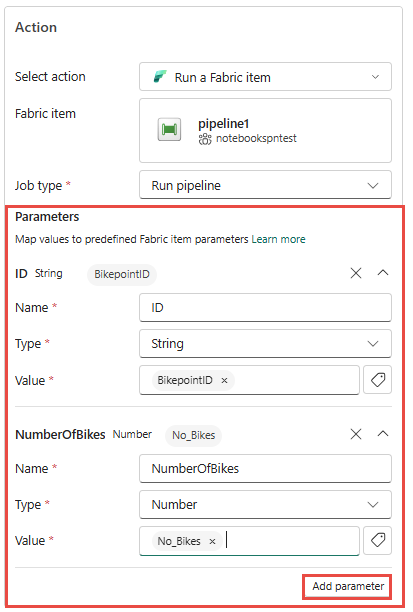
For the Pipeline, Dataflow, Notebook, Spark job, and Publish business event (preview) types, select Add parameter and specify the name of the parameter for the Fabric item and a value for it. You can add more than one parameter. The Copy job type doesn't accept parameters.
Run function
If you select Run function, follow these steps to select the function and specify parameters for it:
For Function, select a function from the list.
For parameters to the function, specify values for each of the parameters defined for the function as shown in the following example:
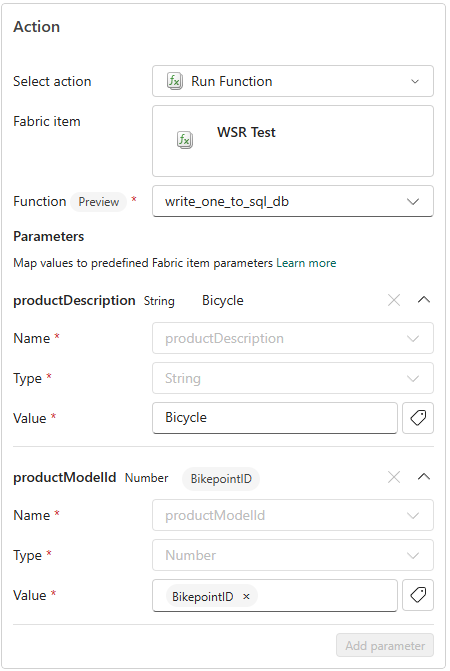
You can use properties from the data by typing
@or by selecting the button next to the text boxes. For example,@BikepointID.
Publish business event (preview)
If you select Publish business event (preview), follow these steps to select a business event schema from the schema registry, and specify parameters for it:
When you select Publish business event (preview), you see the Select a business event window.
In this window, select a business event schema from the list of schemas that are registered in the schema registry. You can also search for a schema by typing its name in the search box.
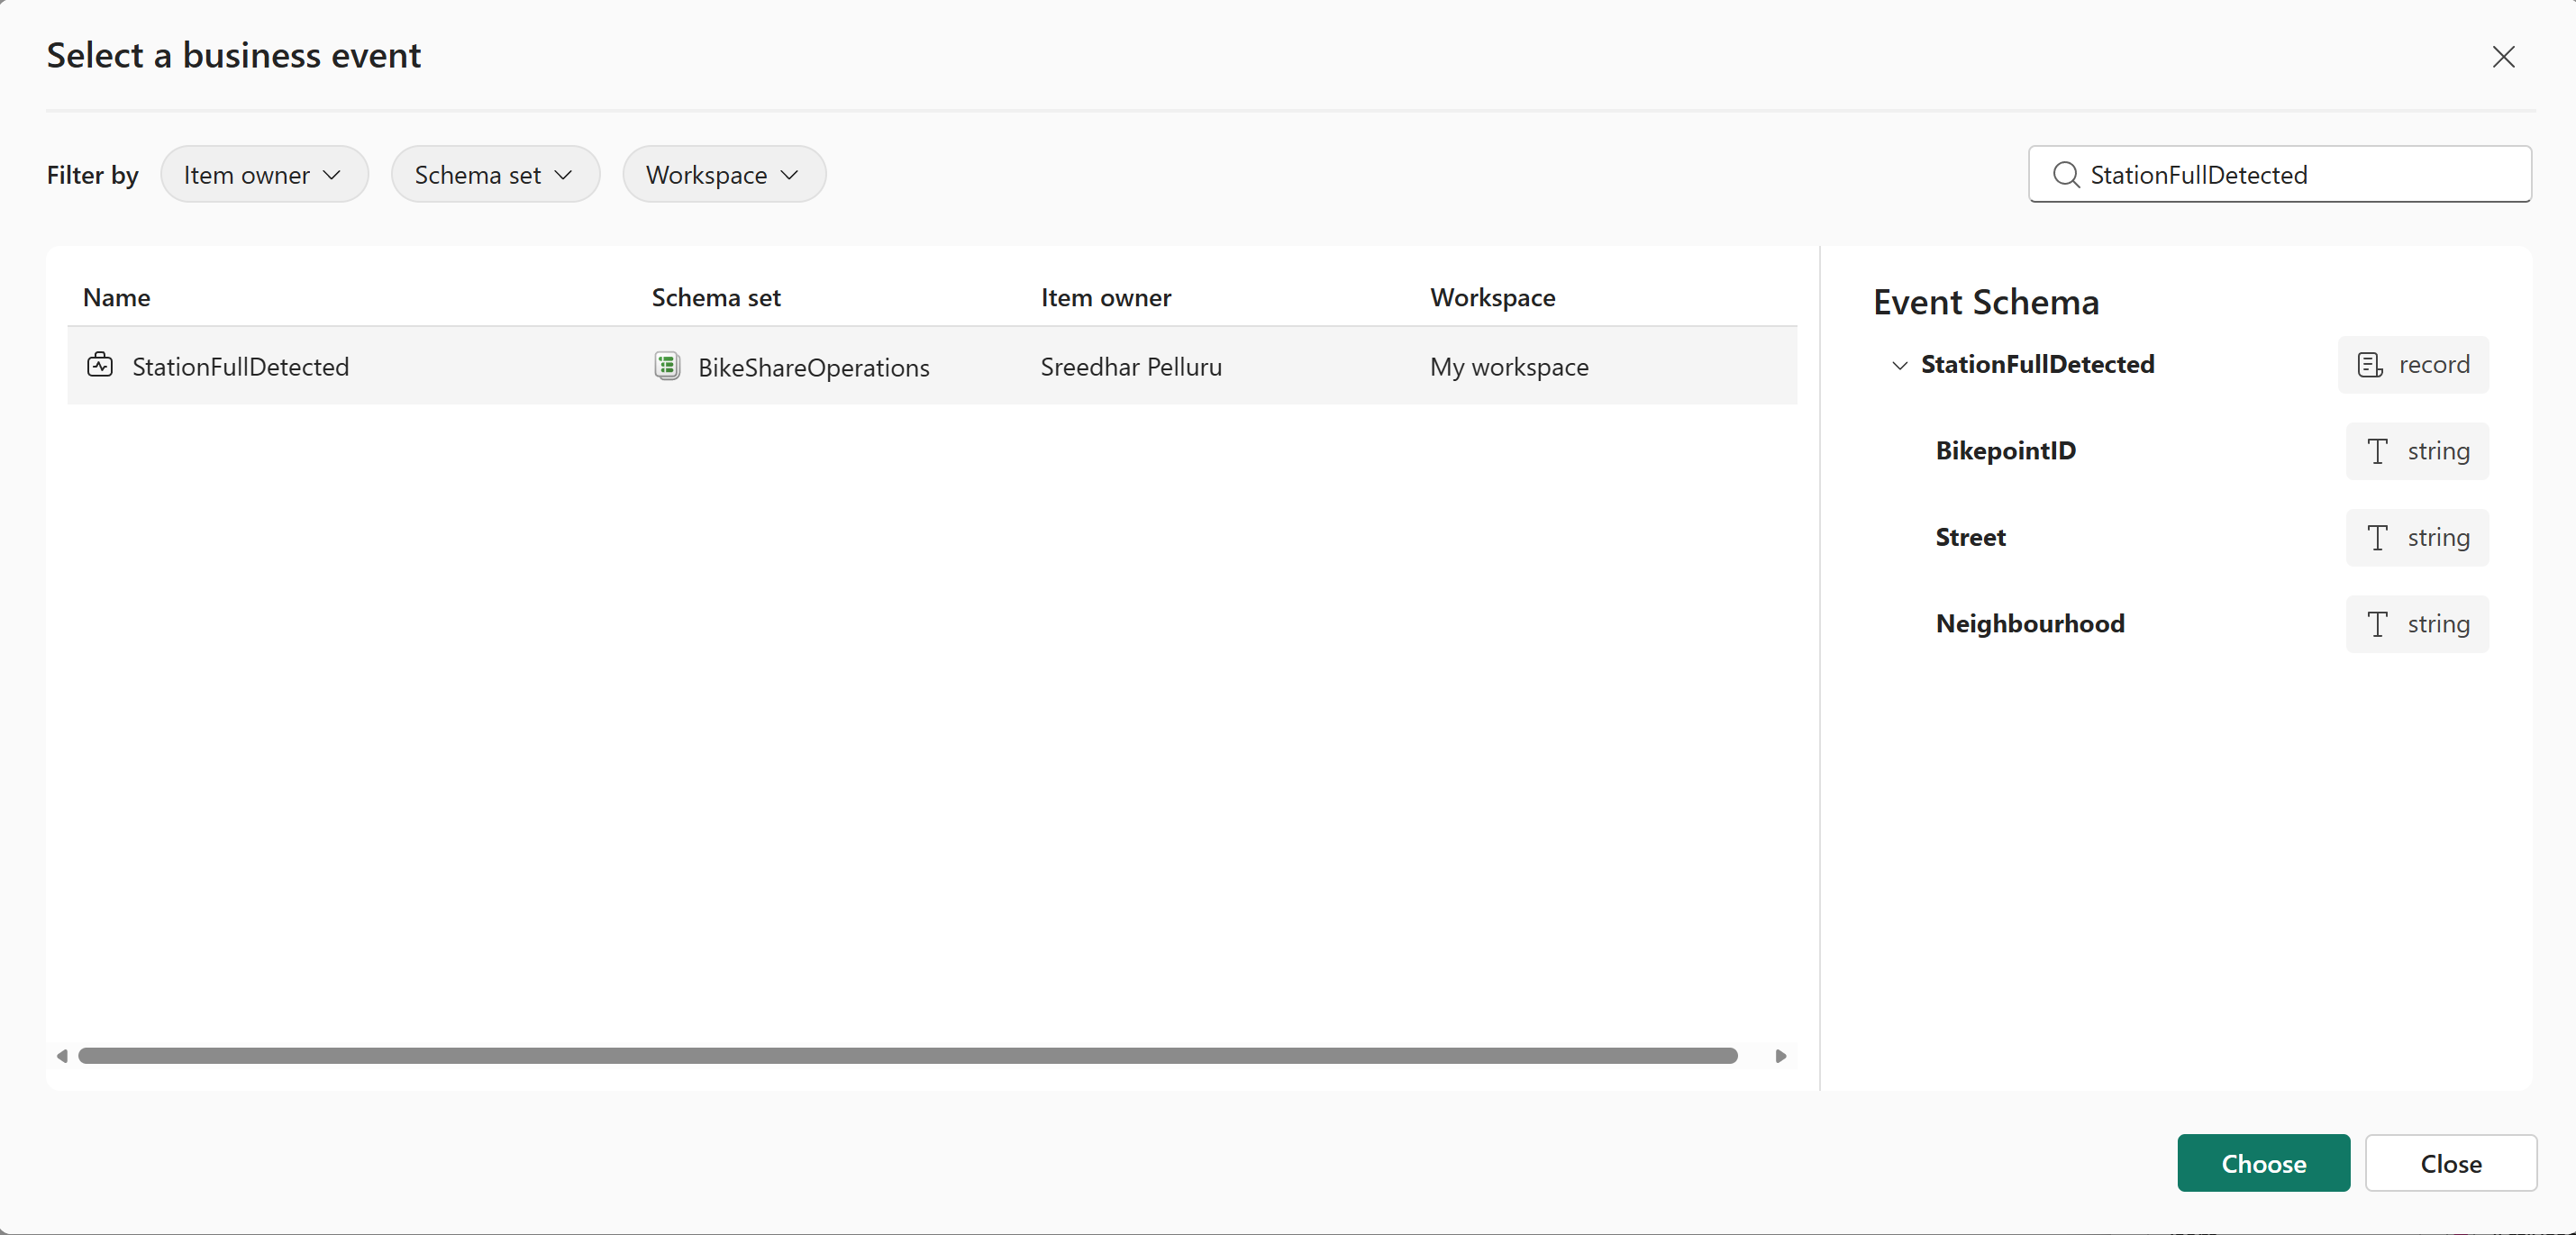
For parameters to the business event, specify values for each of the parameters defined for the schema as shown in the following example:
Custom action
To configure the alert to call a custom action when the condition is met, follow these steps:
For Select action, select Create custom action.
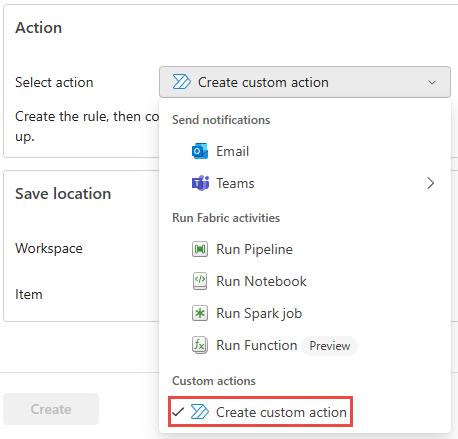
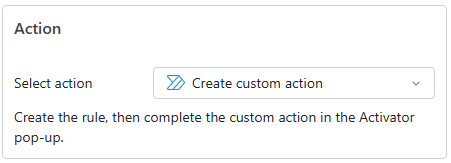
As mentioned in the Action section, create the rule first, and then complete the custom action setup by following steps from Trigger custom actions (Power Automate flows).
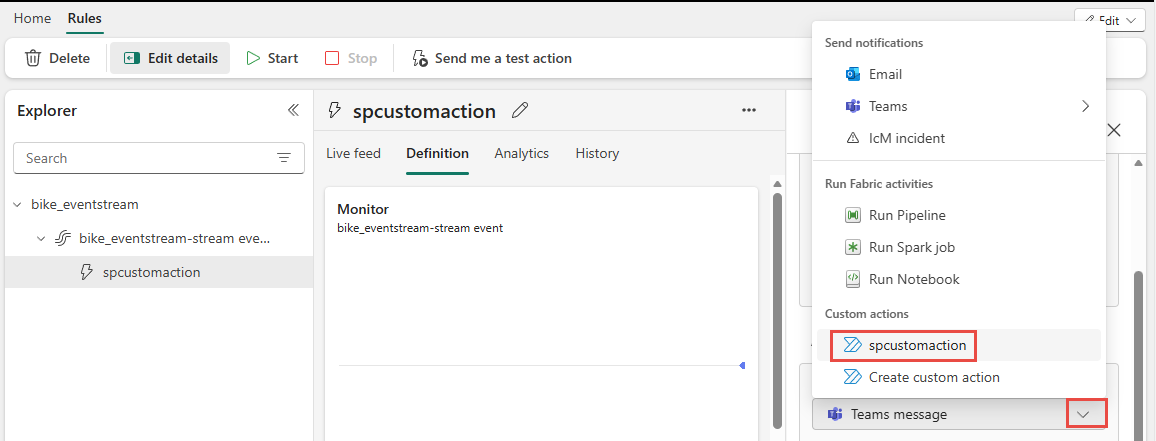
After you create the custom action, in the Definition pane of the rule, select the custom action from the Action drop-down list.
Save location section
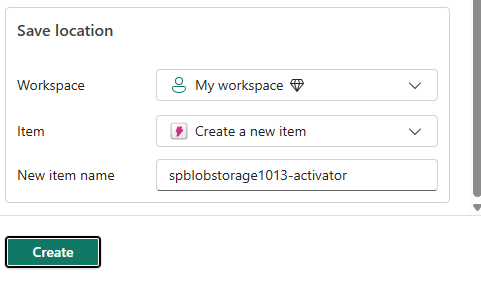
In the Save location section, for Workspace, select the workspace where you want the Fabric activator item to be created or that already exists.
For Item, select an existing activator item or create a new one. To create a new activator item, select Create a new item, and then enter a name for the activator item.
Create alert
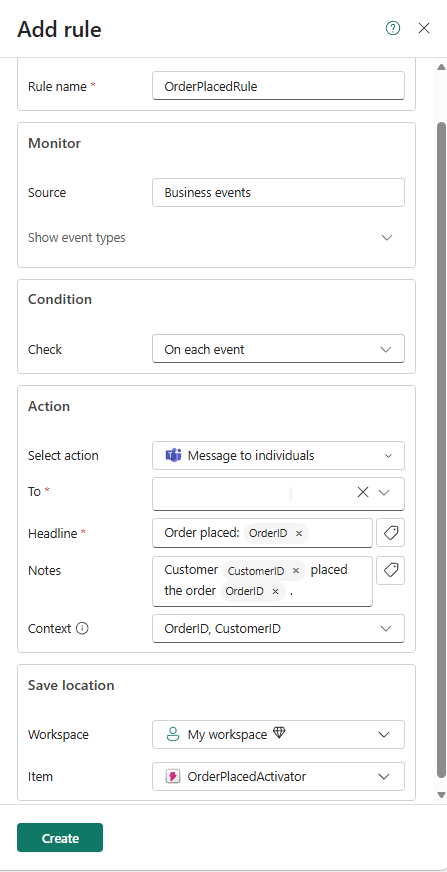
In the Add rule pane, select Create at the bottom of the page to create the alert.
You see the Alert created page.
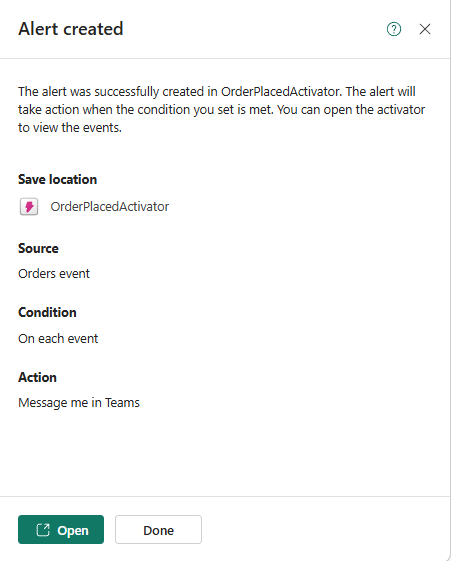
On the Alert created page, select either Open to open the rule in the Fabric activator user interface in a separate tab or Done to close the page.
Related content
See the following end-to-end tutorials: