Note
Access to this page requires authorization. You can try signing in or changing directories.
Access to this page requires authorization. You can try changing directories.
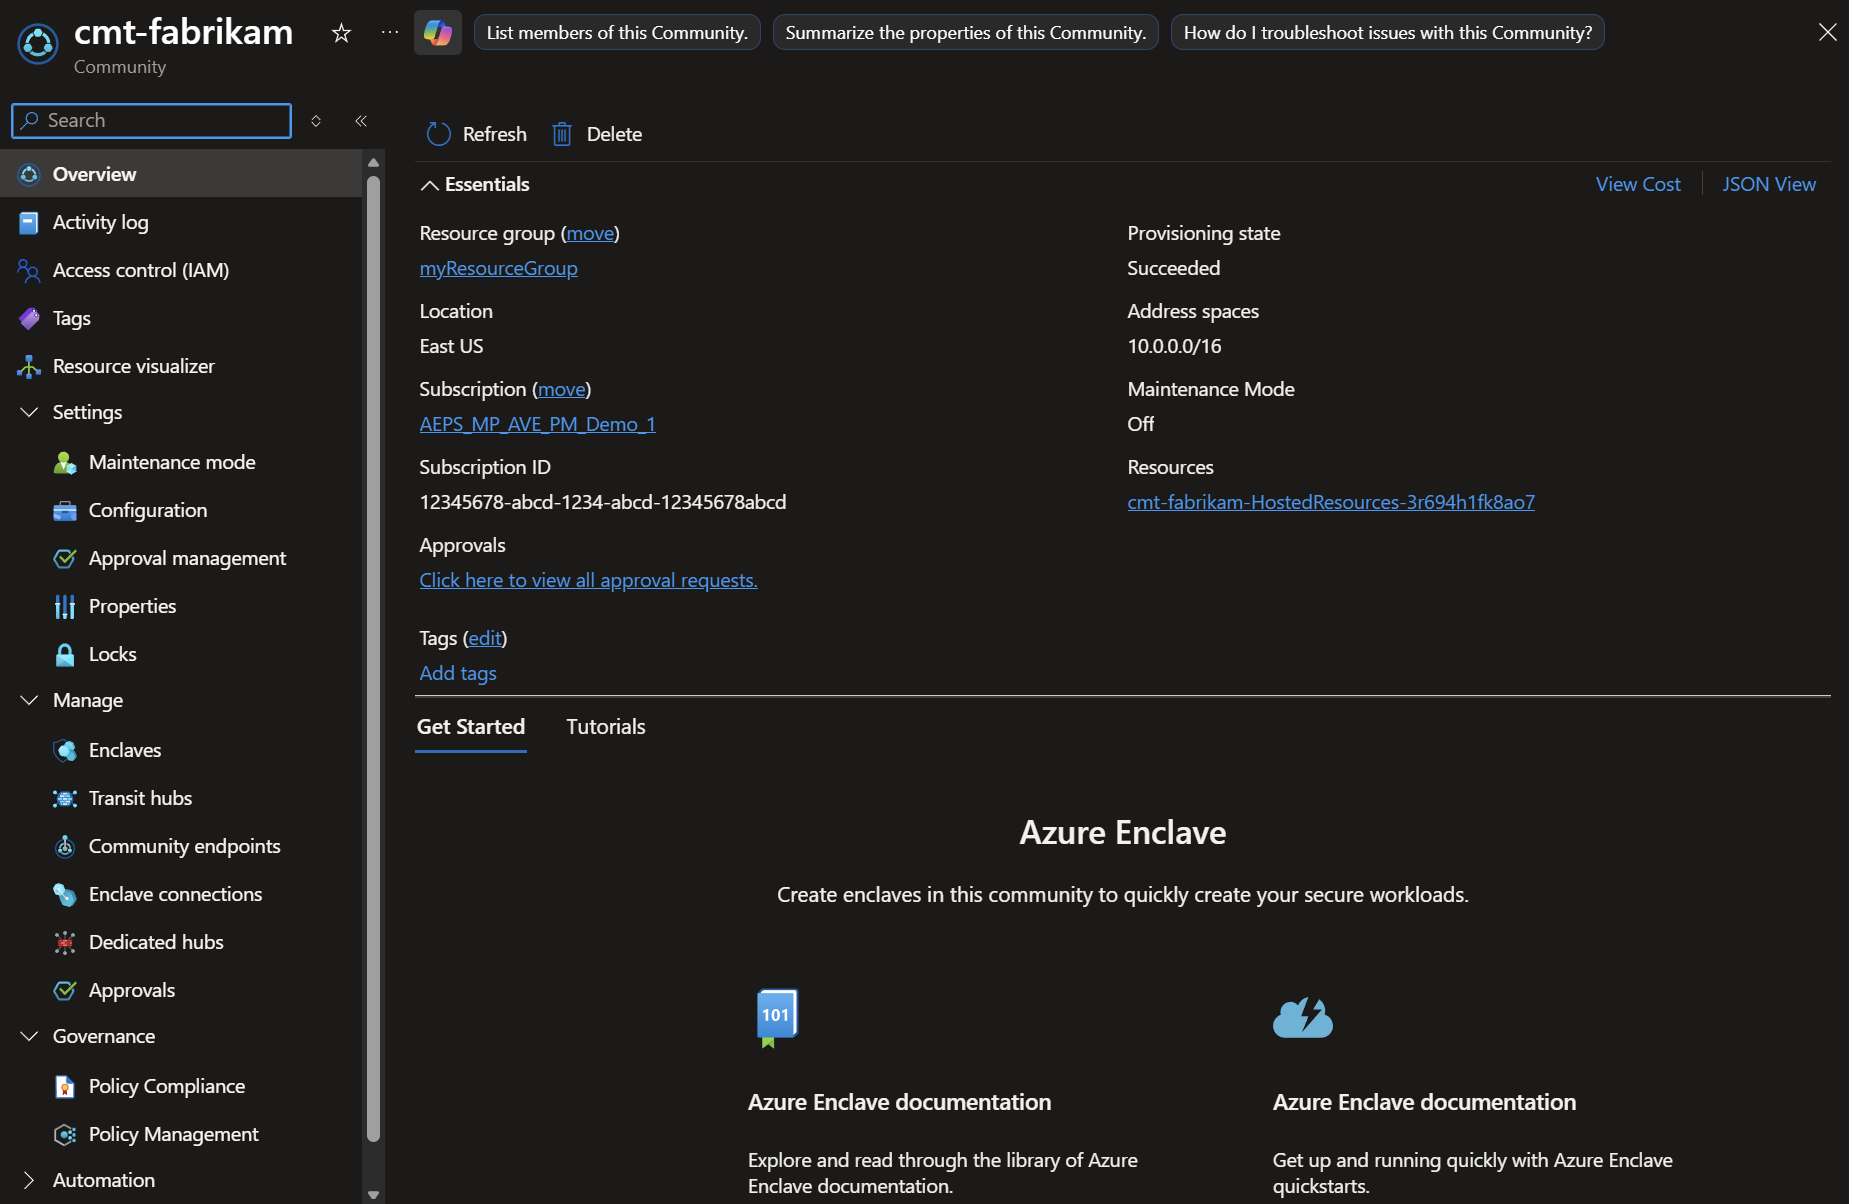
Communities are isolated hub networks that securely and logically group multiple enclaves for governance, management, and security. A community owner can enable connectivity to other communities or on-premises networks through transit hubs or endpoints.
Prerequisites
To access Azure Enclave, you need an Azure subscription. If you don't already have one, create a free account, and then sign in to the Azure portal.
Create community
Enter
Azure Enclavein the search.Under
Services, selectAzure Enclave. You're directed to the Azure Enclave homepage.
Select the
Create a communitybutton. The community deployment can take several minutes to complete.Enter details for your community on the
Basicstab:Subscription: Select an Azure subscription.Resource group: Create a new resource group or select an existing one.Community name: Enter a community name, such asMy-Community.Region: Select the Azure region where the community is created.Community address space: Enter the community IP address space, such as10.0.0.0/16.
Note
192.168.0.0/16is reserved as the platform-managed enclave range. Don't create communities with any address space that overlaps or includes this range, such as192.0.0.0/8or192.128.0.0/9, because it creates conflicts with platform-managed enclave management IP ranges.
Select
Next. On theAzure firewalltab, decide if you want to use a different firewall type for your community Virtual WAN secure hubs.
Select
Next. On theDedicated hubstab, create any dedicated hubs you need.
Select
Next. On theApprovalstab, decide which approval settings to apply to your community and enclaves.
Select
Next. On thePolicy managementtab, and customize your settings as needed.
Note
For community governance, you can configure the following settings for each service:
Enforcement: Determines whether rules for a service are actively enforced.Audit Only: Monitors services without actively enforcing rules. Use audit-only mode to understand the effect of potential governance policies before enforcement.Options: Sets the service policy behavior:Allow: The service is allowed.Deny: The service isn't allowed.ExceptionOnly: The service isn't allowed by default, but manual policy exemptions can be made.
Select
Next. On theMonitoringtab, and configure monitoring for your community.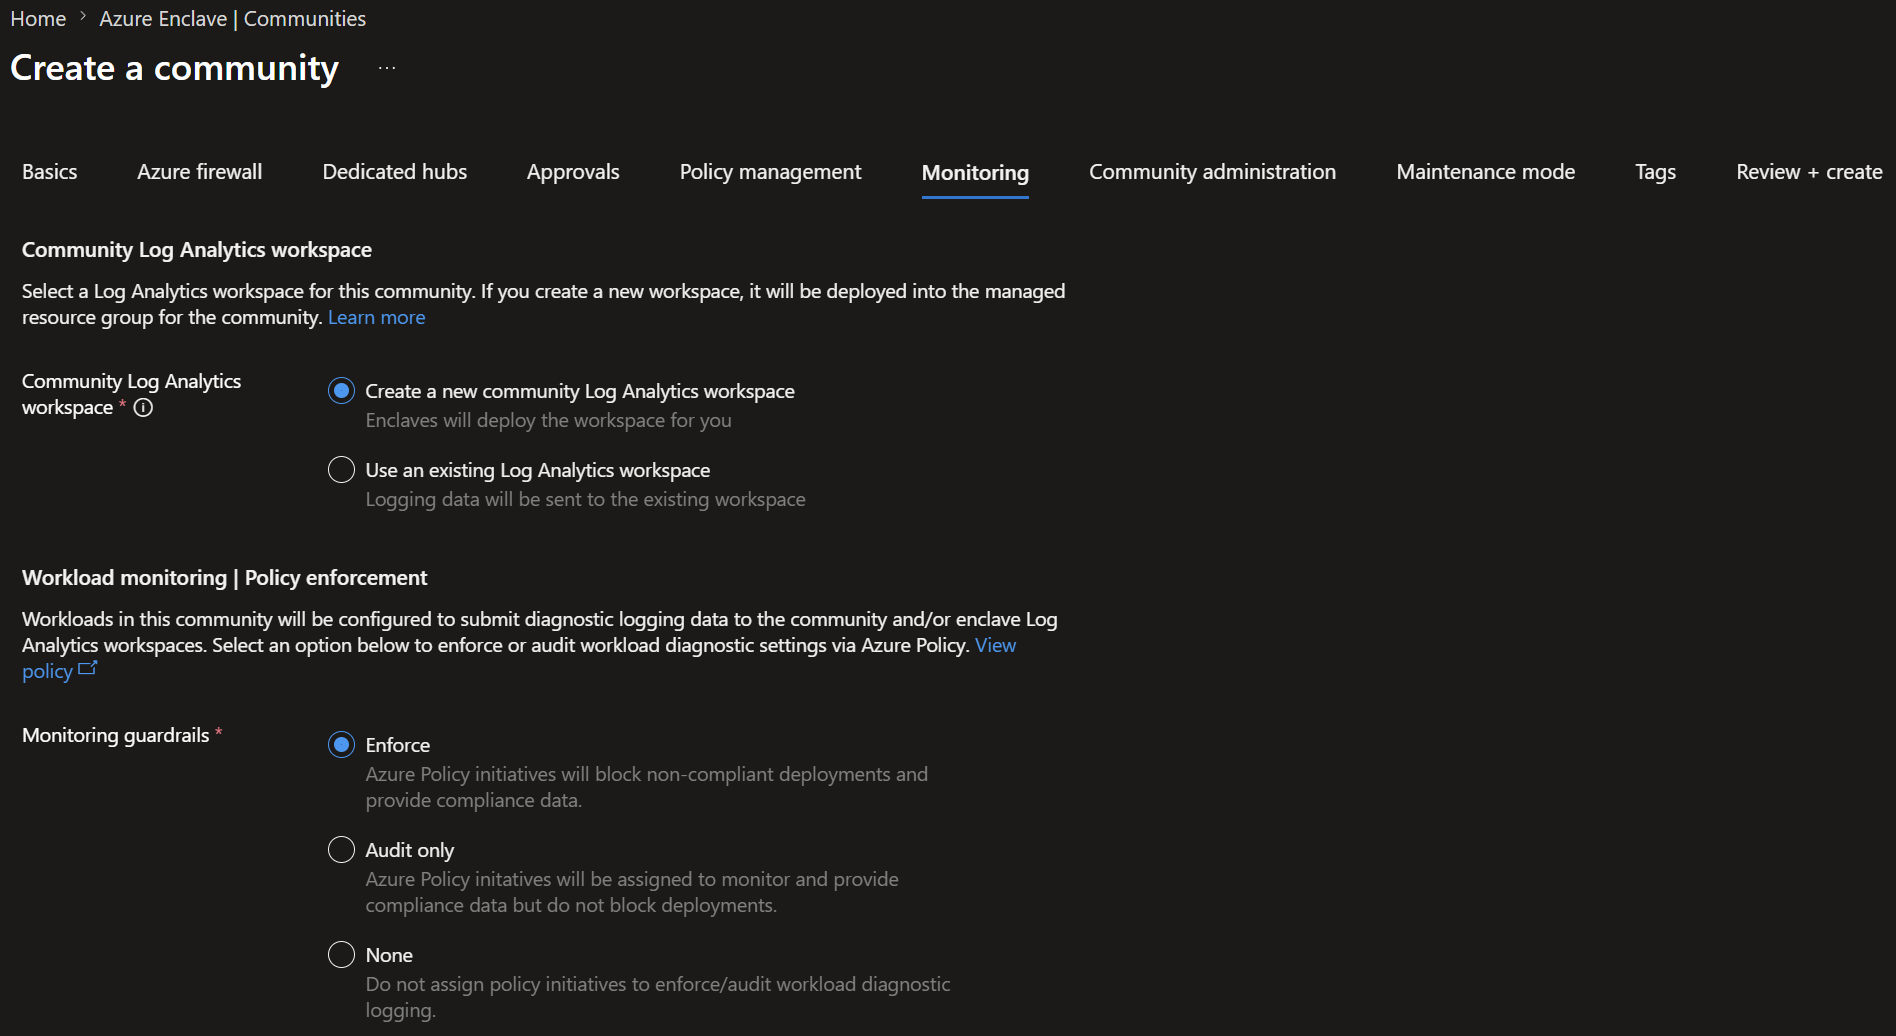
Select
Next. On theCommunity administrationtab, select the users and groups that should receive Azure role assignments on the community managed resource group.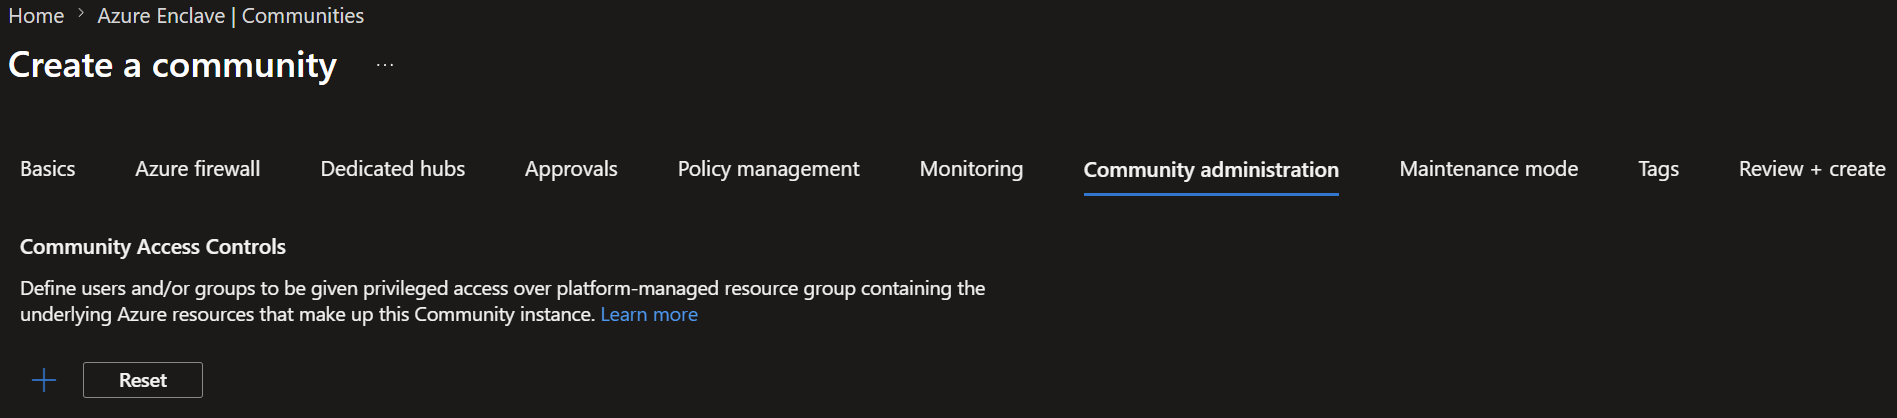
Select
Next. On theMaintenance modetab, choose whether maintenance mode is turned on after the community is created. Community maintenance mode allows changes to managed resources that are critical to the security of the community, making it easier to modify community resources quickly after community creation. Learn more about maintenance mode.
Select
Next, and then enter any tags for your community.Select
Nextand thenReview + create, validate that the details for your enclave are correct, and then selectCreate.