Note
Access to this page requires authorization. You can try signing in or changing directories.
Access to this page requires authorization. You can try changing directories.
Enclave connections enable network traffic to flow into, out of, and between Azure Enclave communities and enclaves. In this how-to guide, you create an enclave connection in the Azure portal.
Prerequisites
- An Azure subscription. If needed, create a free Azure account.
- A community and an enclave.
- An existing enclave endpoint or community endpoint in the same community.
Sign in to Azure
Sign in to the Azure portal.
Create an enclave connection
Enter
Azure Enclavein the search.Under
Services, selectAzure Enclave.In the
Azure Enclavepage, selectEnclavesin the left menu.On the
Enclavespage, select your Enclave's name to open the enclave resource.Select
Enclave Connectionson the left navigation and then selectCreate.Enter the following information:
Enclave connection name: Enter a name for the enclave connection.Community: Select the existing community from the list.
Configure an enclave source connection
If the connection source is Transit Hub, skip this section.
For connections where the source is Enclave, enter the required information:
Under
Source Type, selectEnclave.Select the existing
Source Enclavefrom the list.Enter the
Source IP addresses/CIDR range(s)for the enclave subnets that initiate traffic.Under
Destination Endpoint Type, selectEnclave EndpointorCommunity Endpoint.Select the
Destination Endpointfrom the list.
Configure a transit hub source connection
If the connection source is Enclave, skip this section.
For connections where the source is Transit Hub, enter the required information:
Under
Source Type, selectTransit Hub.Select the
Source transit hubfrom the list.Enter the
Source IP addresses/CIDR range(s)for this connection.Select the
Destination endpointfrom the list.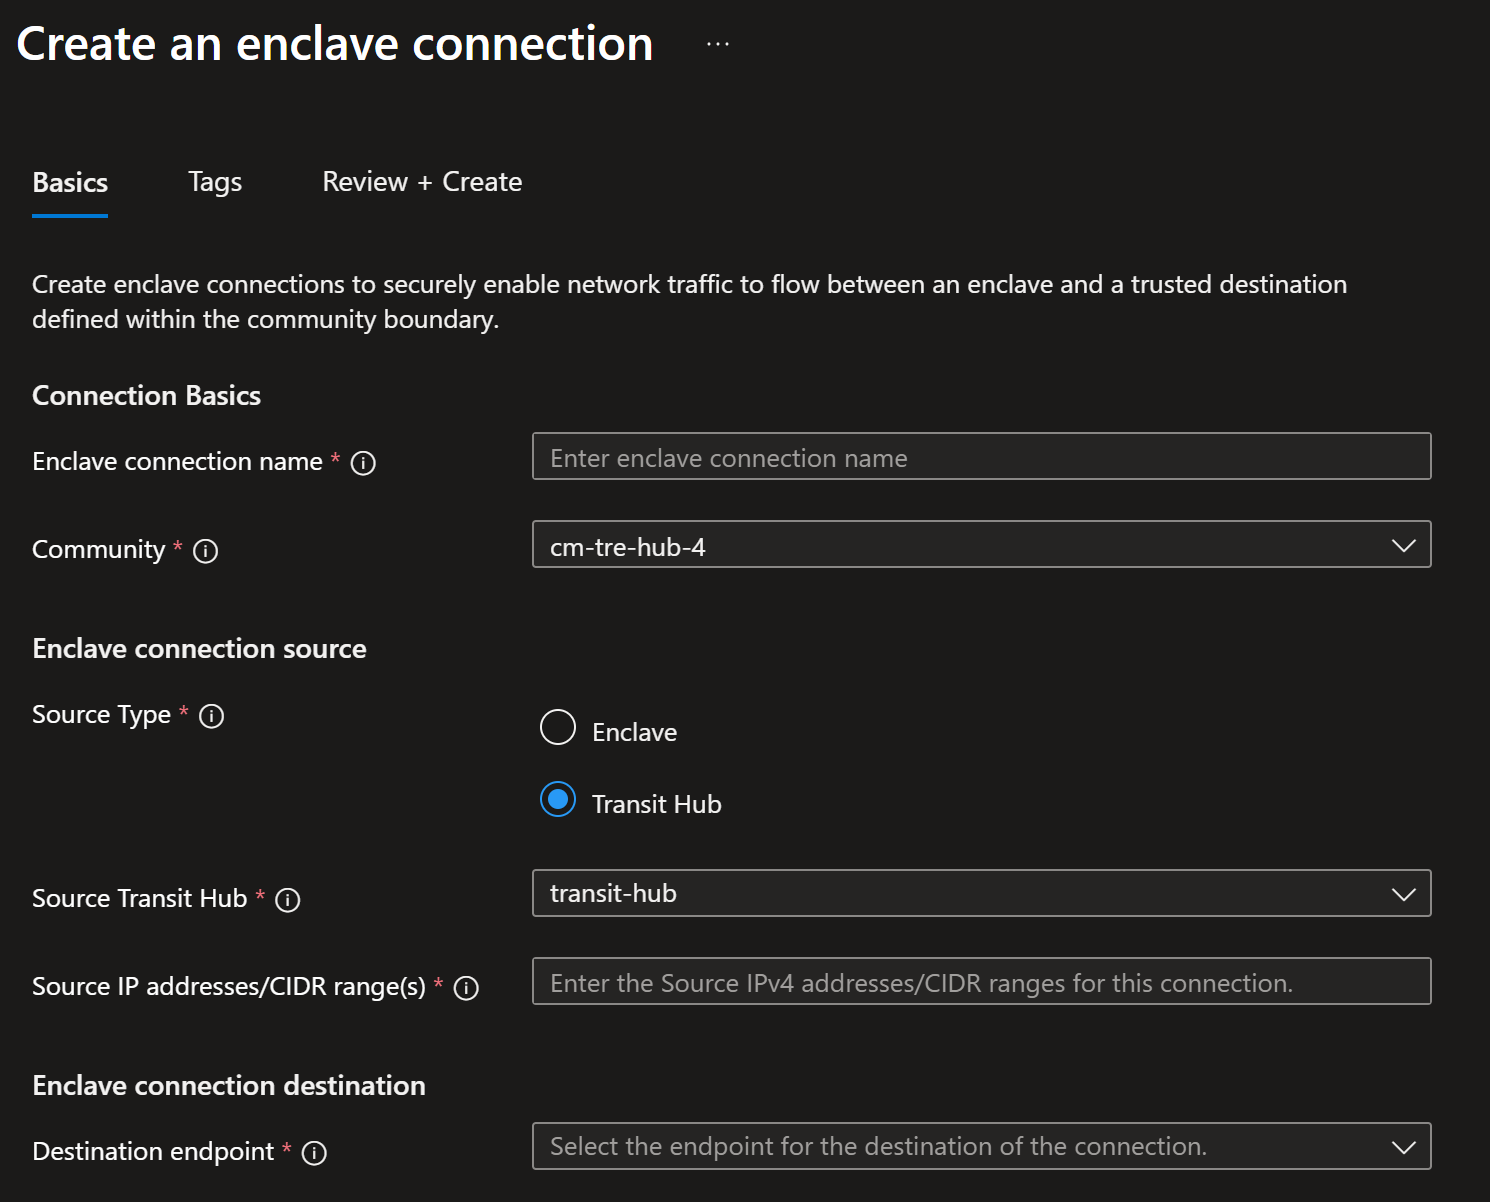
Select
Review + create, and then selectCreate.